Ghee is a staple in my kitchen, right alongside olive oil — one of the most-used ingredients in my Mediterranean cooking. It’s easier than you think to make at home, and I’ll show you exactly how.

Type of Cuisine:
Middle Eastern

Prep Time: 30 minutes.
Cook Time: 45 minutes
How do I make ghee at home? This step-by-step guide will show you how to create rich, golden ghee using just butter, a pan, and a little patience. Homemade ghee is shelf-stable, lactose-free, and perfect for Mediterranean-style cooking — from sautéed vegetables to stews, grains, and roasted meats.
Growing up in Jordan, ghee was more than just an ingredient — it was a tradition. We called it Samna Baladi, a type of pure ghee made from sheep’s milk butter that was only available in spring. I still remember the fresh, white butter we’d eat raw with bread and molasses, and how my family would gently melt it with spices like Hewaja to make a golden, aromatic ghee we used year-round.
The method I’m sharing here doesn’t require sheep’s milk or village butter — just high-quality butter and a simple stovetop technique. It’s an easy way to bring that deep, nostalgic flavor into your kitchen. Let’s get started.
How to Make Butter and Ghee at Home
Step 1: Make Homemade Butter
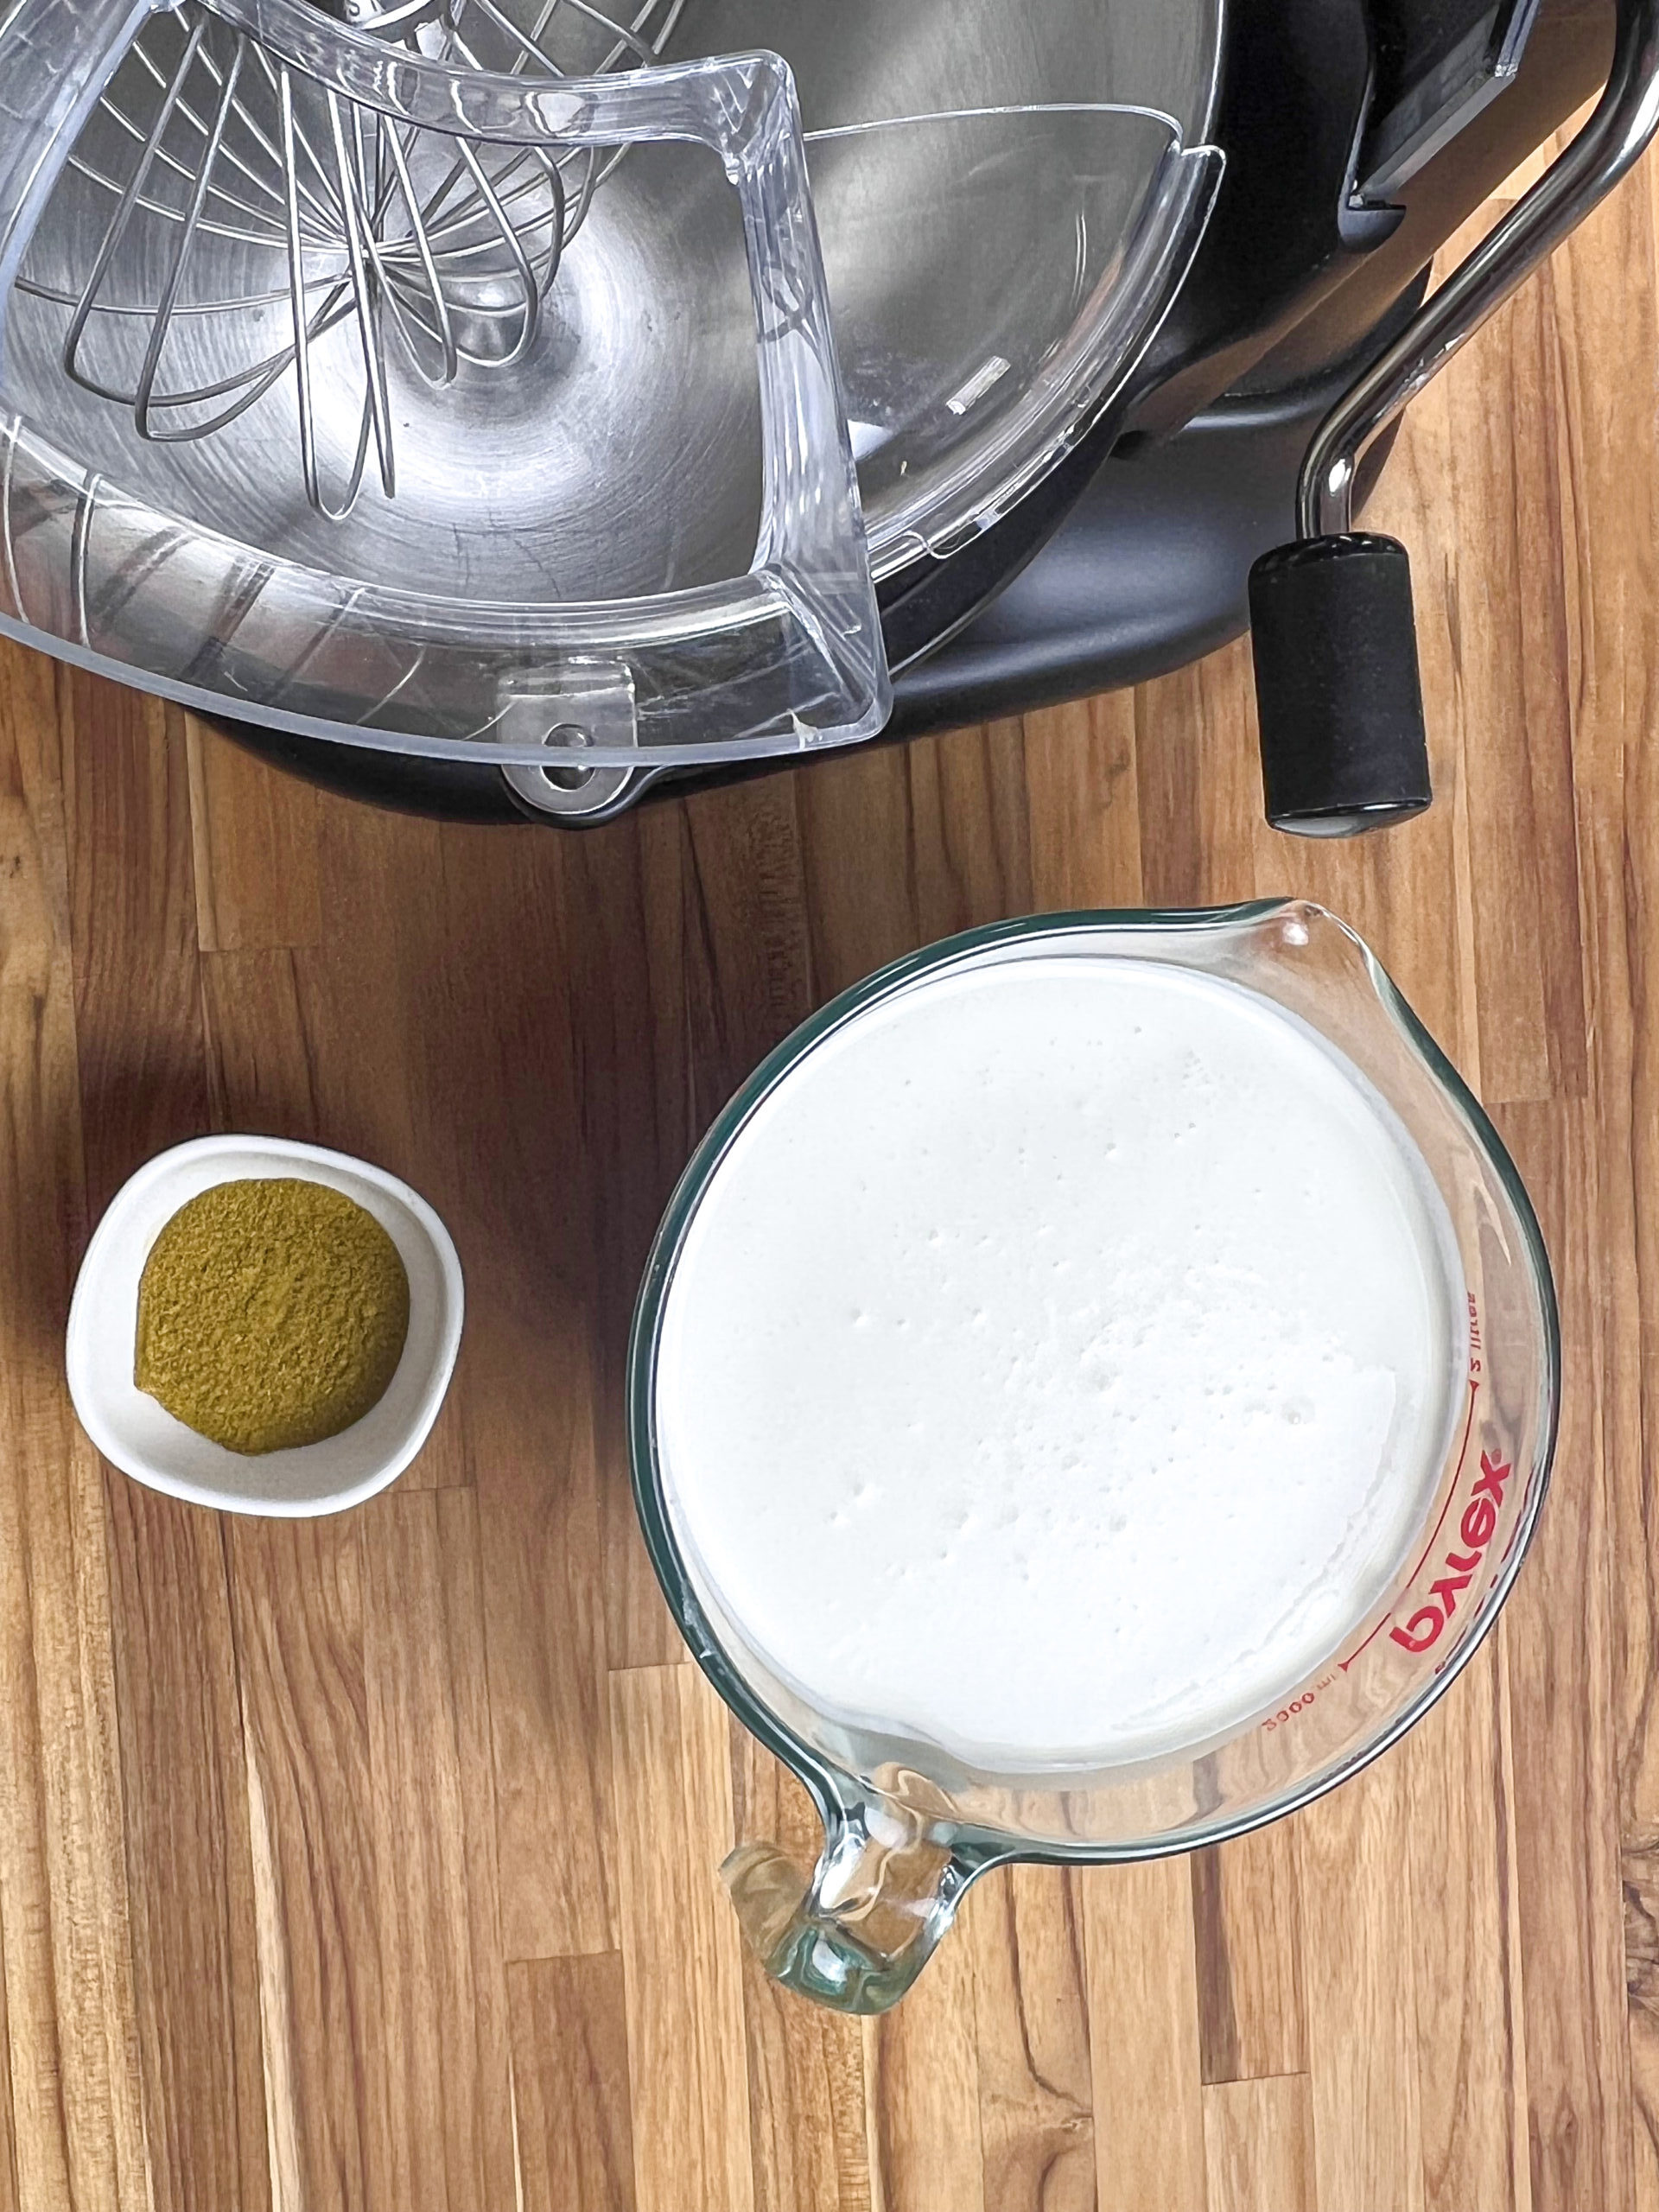
Since sheep’s milk isn’t easily found in the U.S., I use heavy cream and a stand mixer or hand mixer with a whisk attachment.
-
Whisk the cream on high speed until the fat separates from the liquid.
-
Once it thickens, it will go past the whipped cream stage, and suddenly, you’ll see butter solids and buttermilk separate.
-
Strain and reserve the buttermilk — it’s great for baking or even drinking cold with a pinch of salt!
-
Rinse the butter under cold water and knead it slightly to remove any remaining buttermilk.
Now you have fresh, pure homemade butter.
Step 2: Turn Butter into Ghee
To make ghee (clarified butter), gently melt the unsalted butter in a saucepan over low heat:
-
As it melts, the milk solids will sink to the bottom, and the pure butterfat will rise to the top.
-
Let it simmer slowly without stirring. Some traditional methods include adding cracked wheat or bread to help absorb solids, but I keep it simple and let it separate naturally.
-
You’ll know it’s ready when the top is clear and golden, and the bottom has cloudy bits. That means your ghee is done!
Carefully pour the ghee into a clean glass jar or ladle the clear fat while leaving the solids behind.
Notes for Making Ghee
-
Hewaja (Optional Spice Blend): Hewaja is a traditional spice mix used to flavor ghee and can be found at most Middle Eastern grocery stores. If you don’t have it, no worries — you can simply clarify the butter without adding anything. The result will still be delicious, pure ghee. If you’re feeling creative, try flavoring it with a pinch of turmeric, curry, rosemary, or garlic.
-
Mixer Tip: A standard stand mixer holds up to ½ gallon (64 oz) of heavy cream. Don’t overfill it — it will overflow and make a mess! One batch yields about 28 oz of butter.
-
Storing Ghee: Ghee keeps well in a glass jar at room temperature, but it will last longer when stored in the fridge.
-
Storing Butter: You can store the butter in a glass jar or ceramic dish, but I like to shape it into 4-oz logs wrapped in wax paper. I keep them in the fridge and take one out as needed.
How to Use Clarified Butter and Ghee
Once you start using ghee or clarified butter, you’ll wonder how you ever cooked without it! It adds a rich, nutty flavor and has a high smoke point, which makes it perfect for both everyday cooking and special dishes. Here are some of my favorite ways to use it:
-
For Perfect Eggs: I love frying or scrambling eggs in ghee — it adds amazing flavor and gives them those beautiful golden edges.
-
In Rice Dishes: Anytime I make rice, especially pilafs or Middle Eastern rice with nuts, I use ghee instead of oil. It coats the rice beautifully and gives it a warm, buttery aroma.
-
To Finish Roasted Veggies or Meats: A spoonful of ghee melted over hot roasted vegetables or grilled meats takes them to the next level.
-
With Flatbreads or Toast: Try spreading it on warm pita, naan, or even toast. It’s especially good with a sprinkle of za’atar or a drizzle of honey.
-
For Cooking Stews and Sauces: Use it as your base fat to sauté onions, garlic, and spices. It builds flavor right from the start.
Honestly, I use it on almost everything — once you make it, you’ll see how versatile it is!
Step-by-Step Instructions
Whip the Heavy Cream
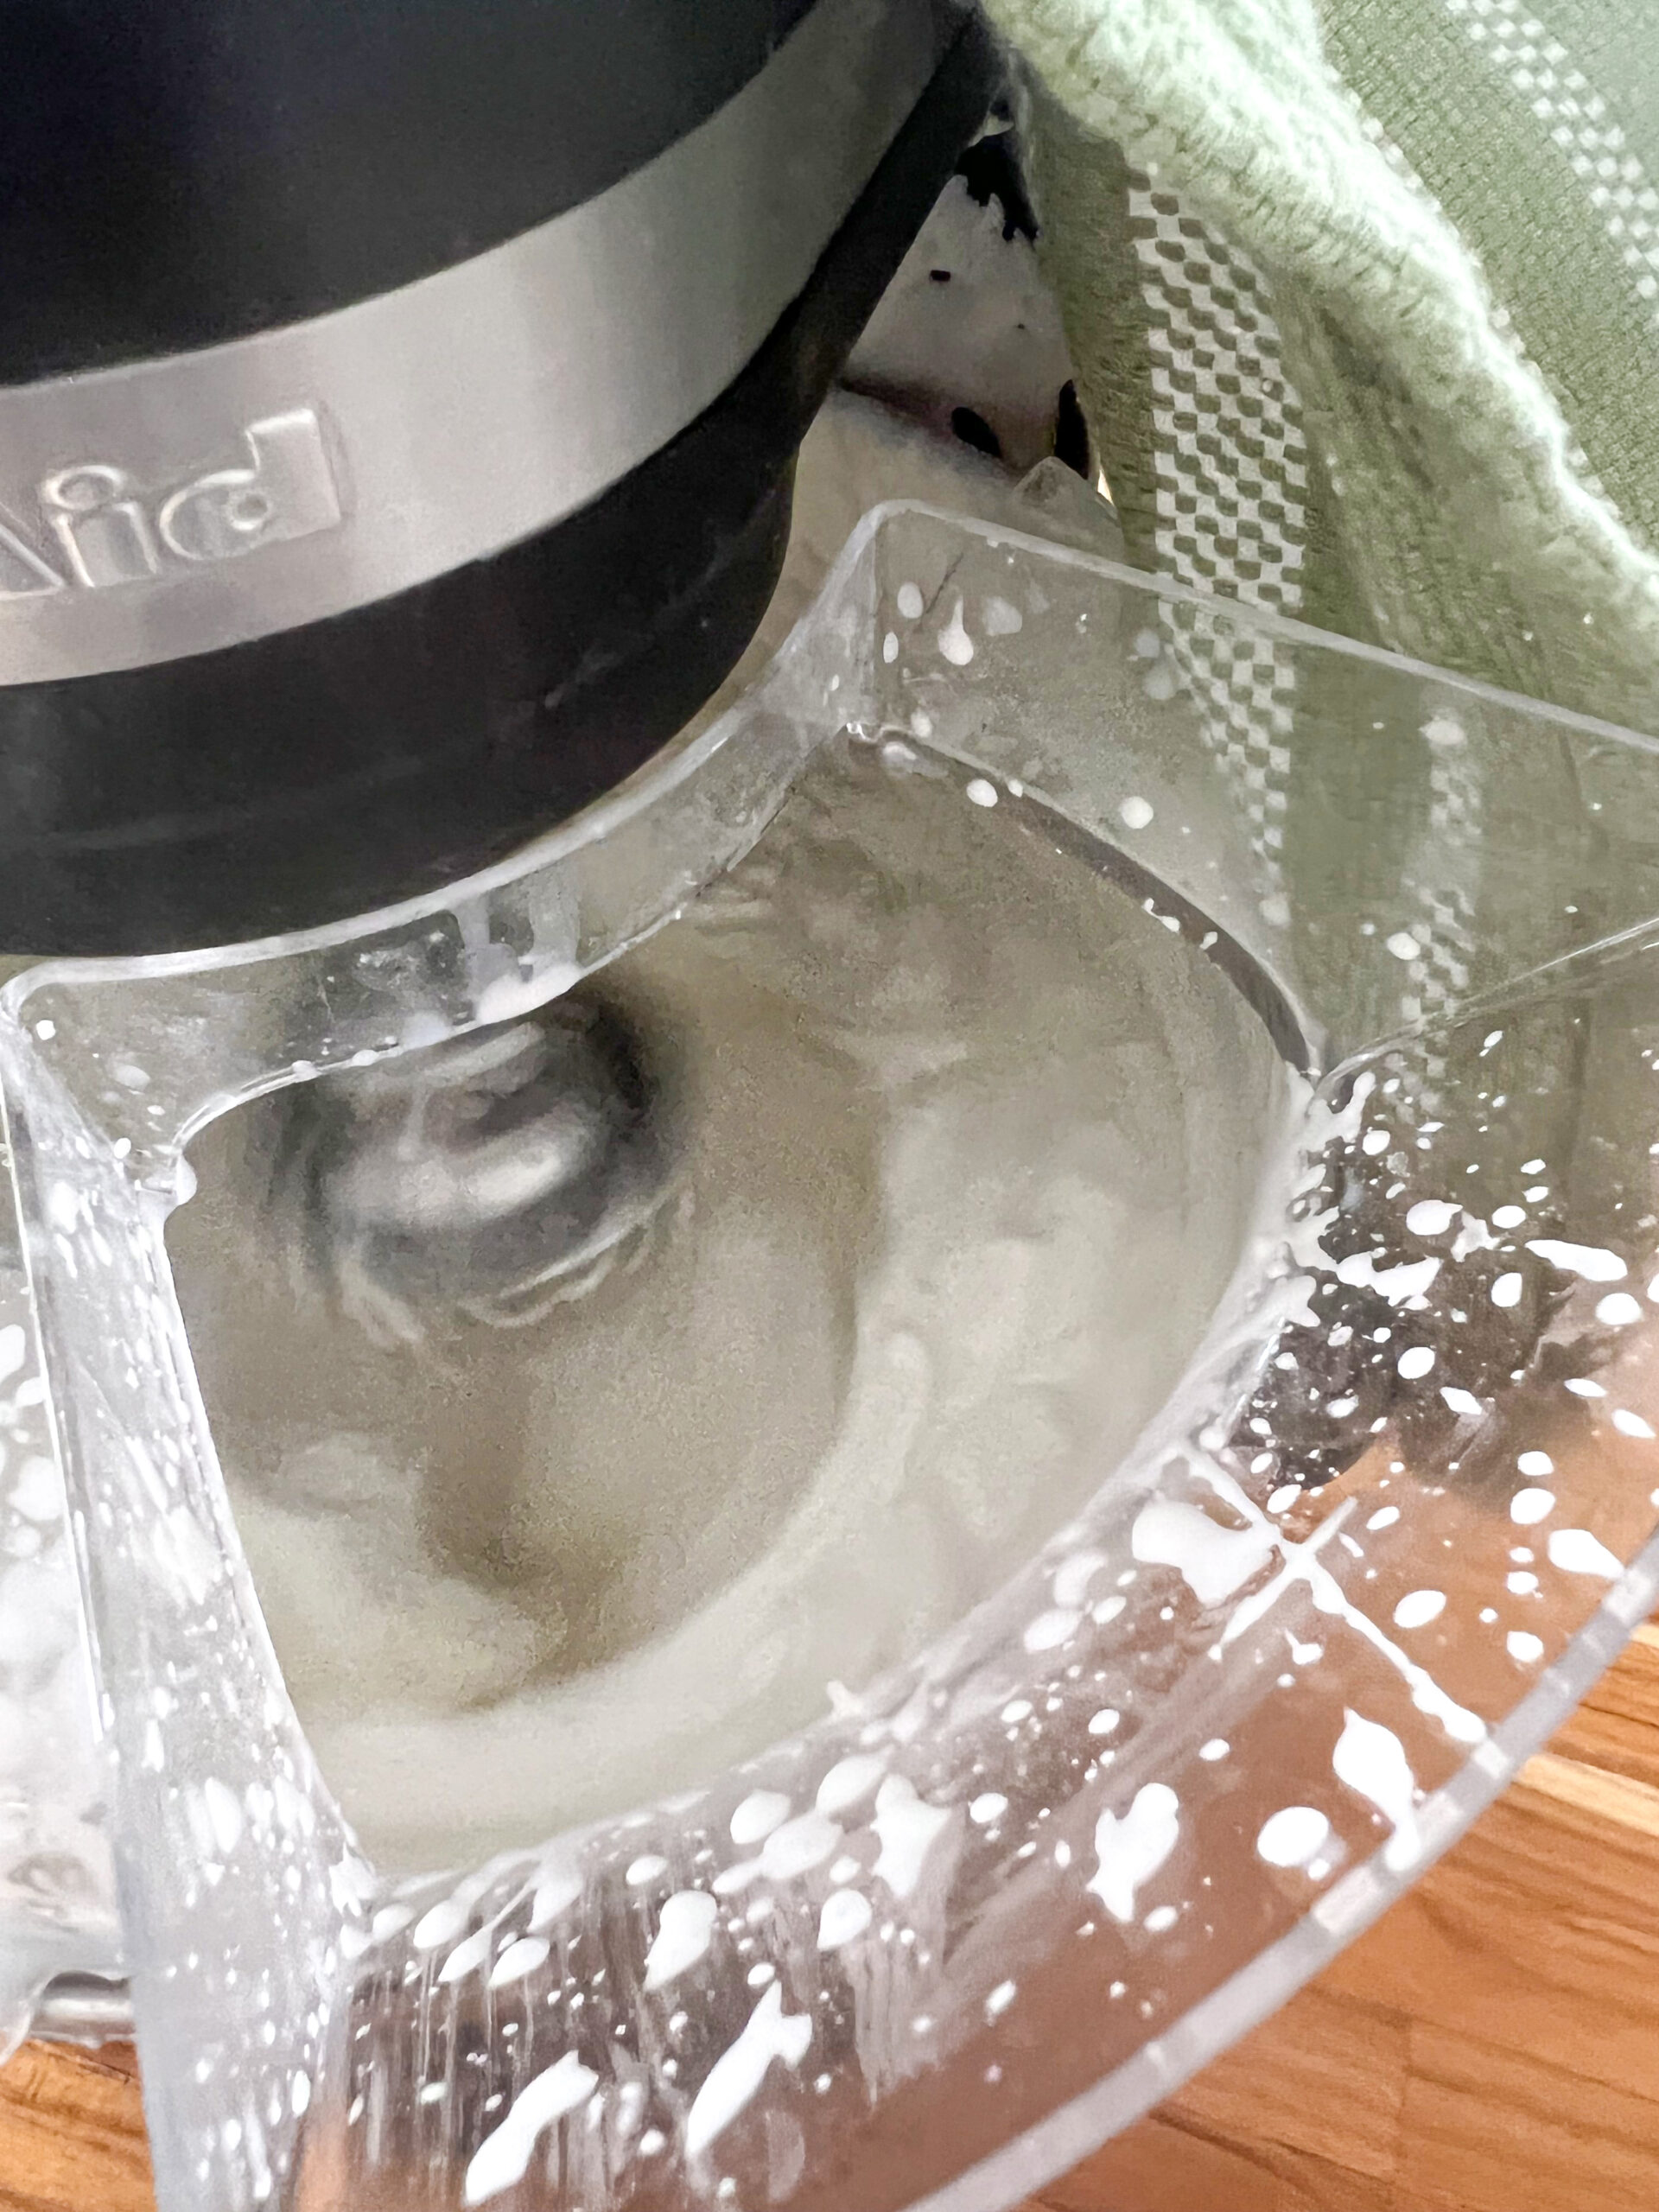
Whisk on high speed for about 10 minutes. First, the cream will turn into whipped cream. Keep going — it will eventually separate into butterfat and buttermilk.
Once separation starts, reduce the speed to medium to prevent splattering. You can also drape a clean kitchen towel over the mixer for extra protection.
Transfer the Butter
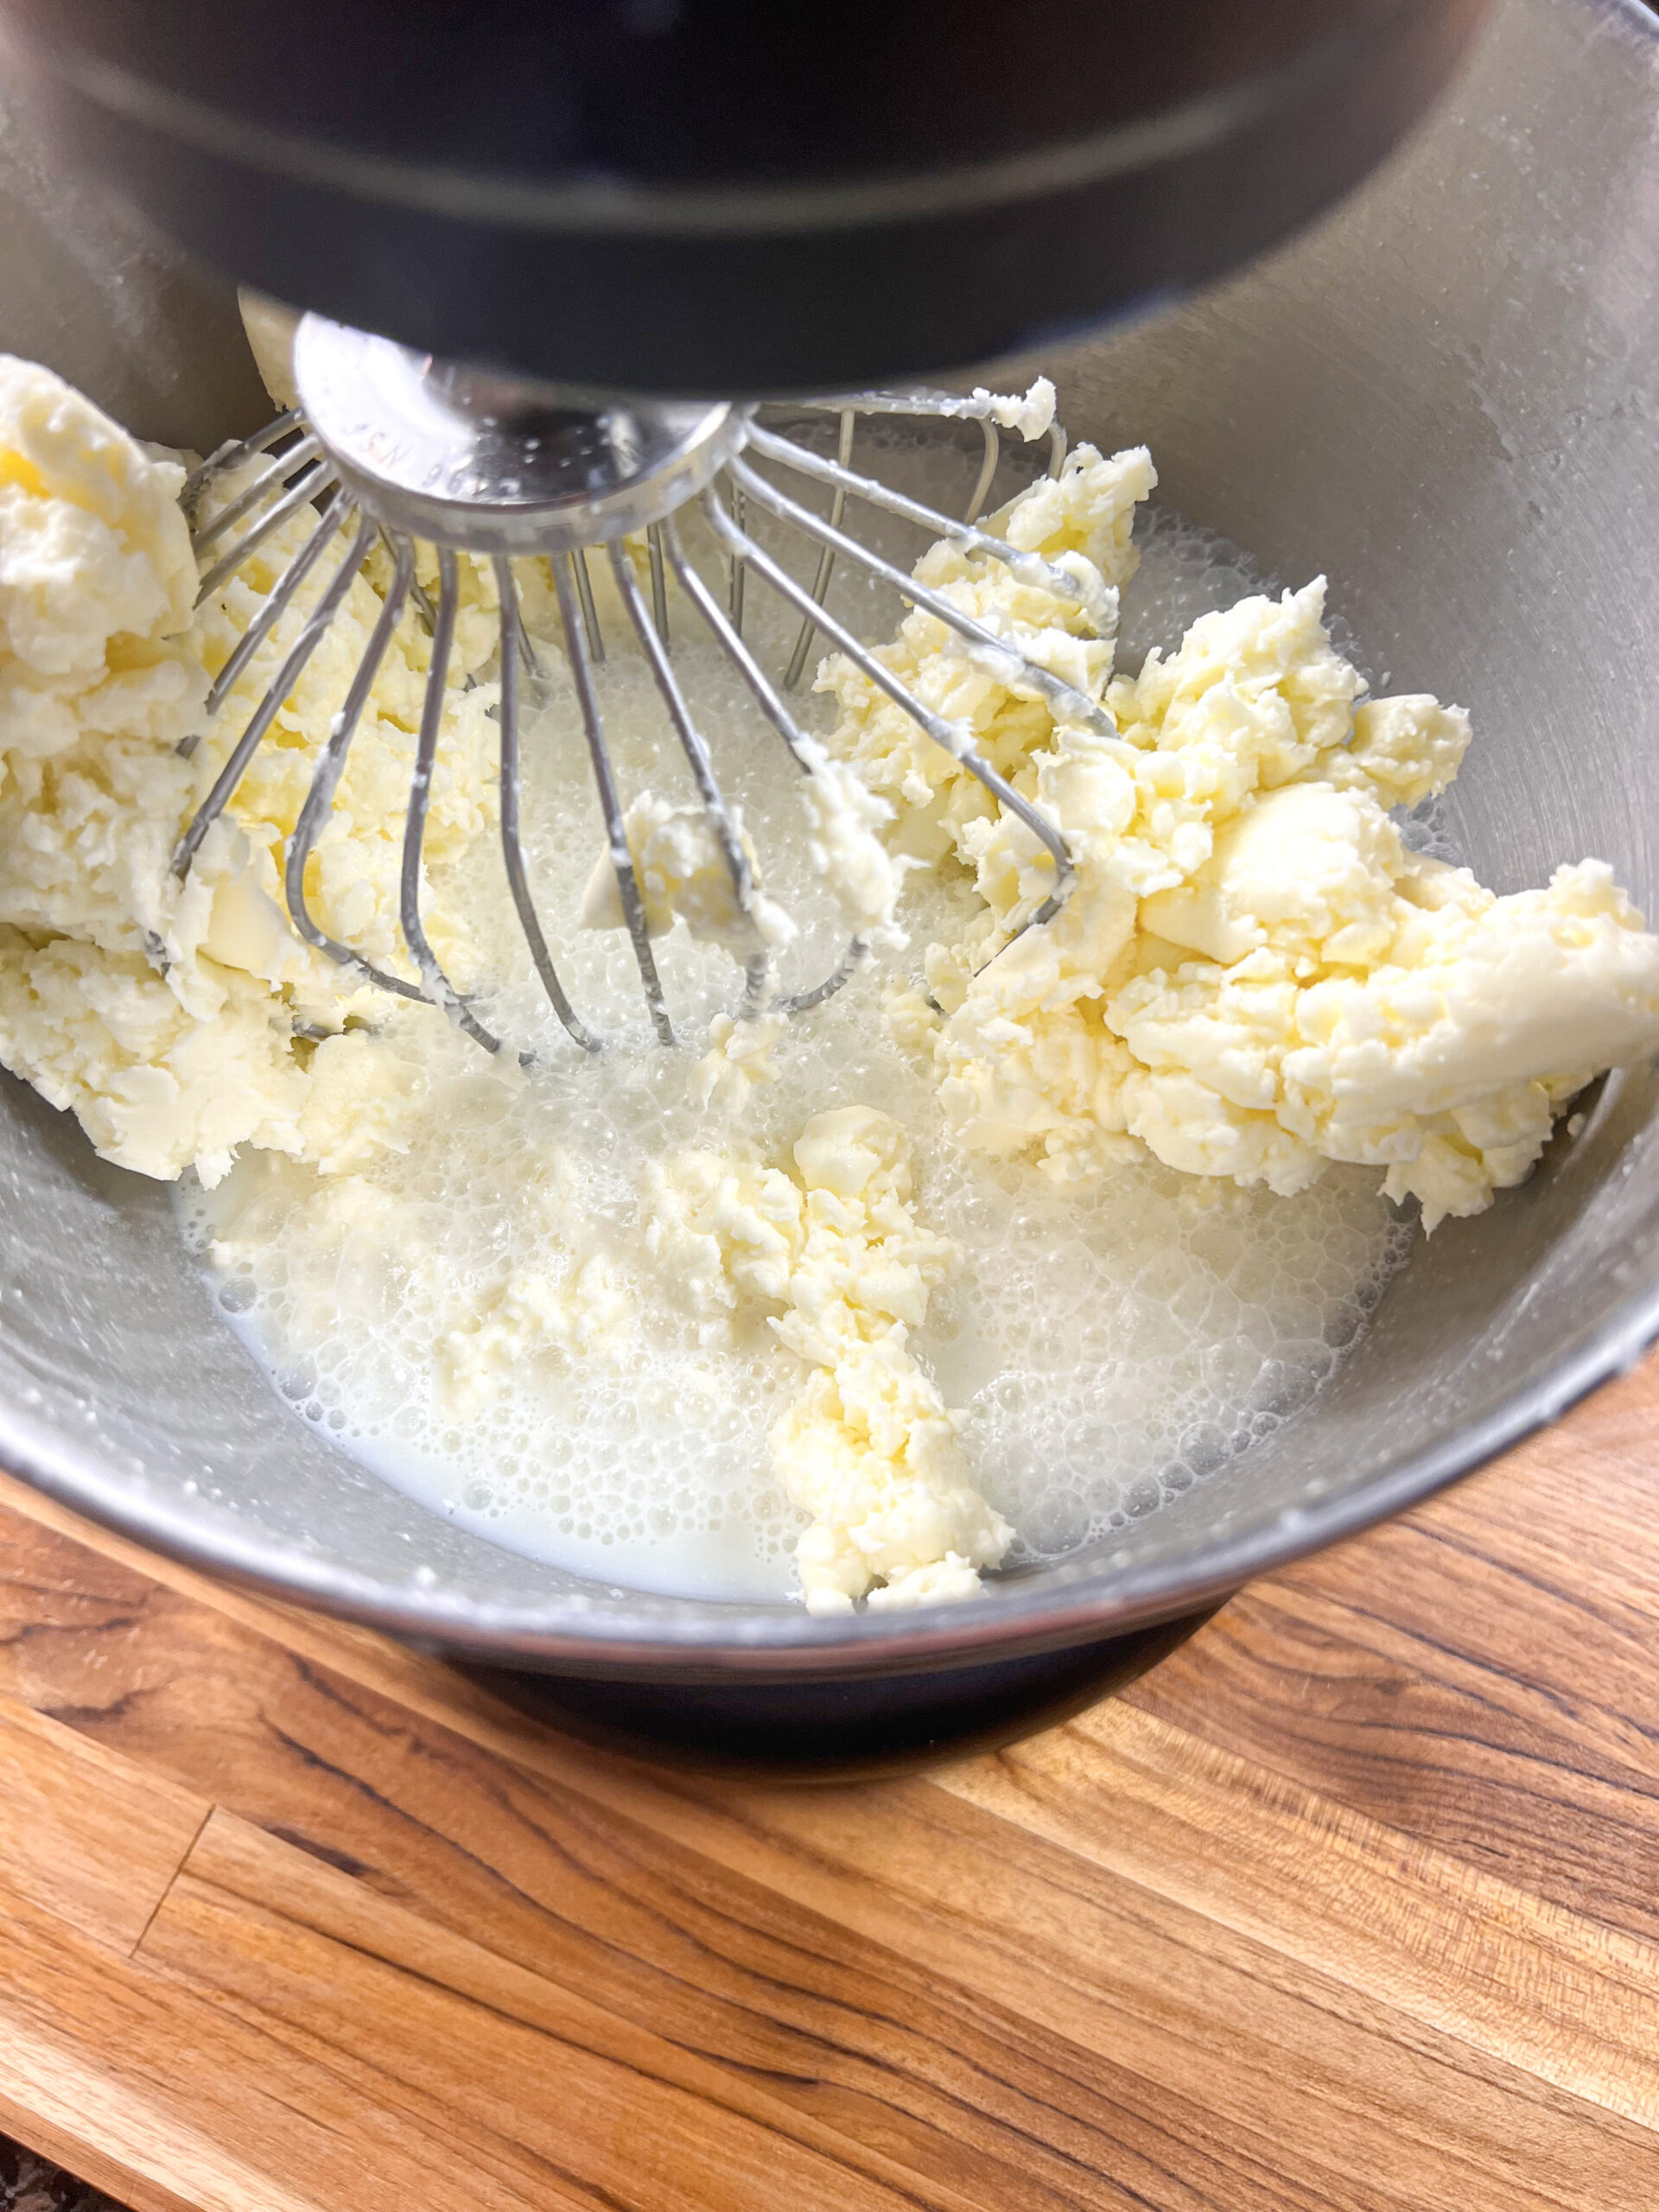

Use a spatula or your hands to gather the butter from the whisk and bowl, and transfer it to a clean bowl.
Some butter may stick to the whisk — just scrape off as much as you can.
Store the buttermilk in a glass jar in the refrigerator for later use.
.
Pat Dry and Season

If you’d like to make salted butter, sprinkle in a pinch of salt and mix it in evenly.
Shape the butter into a log, wrap it in wax paper, and store it in the refrigerator until ready to use.
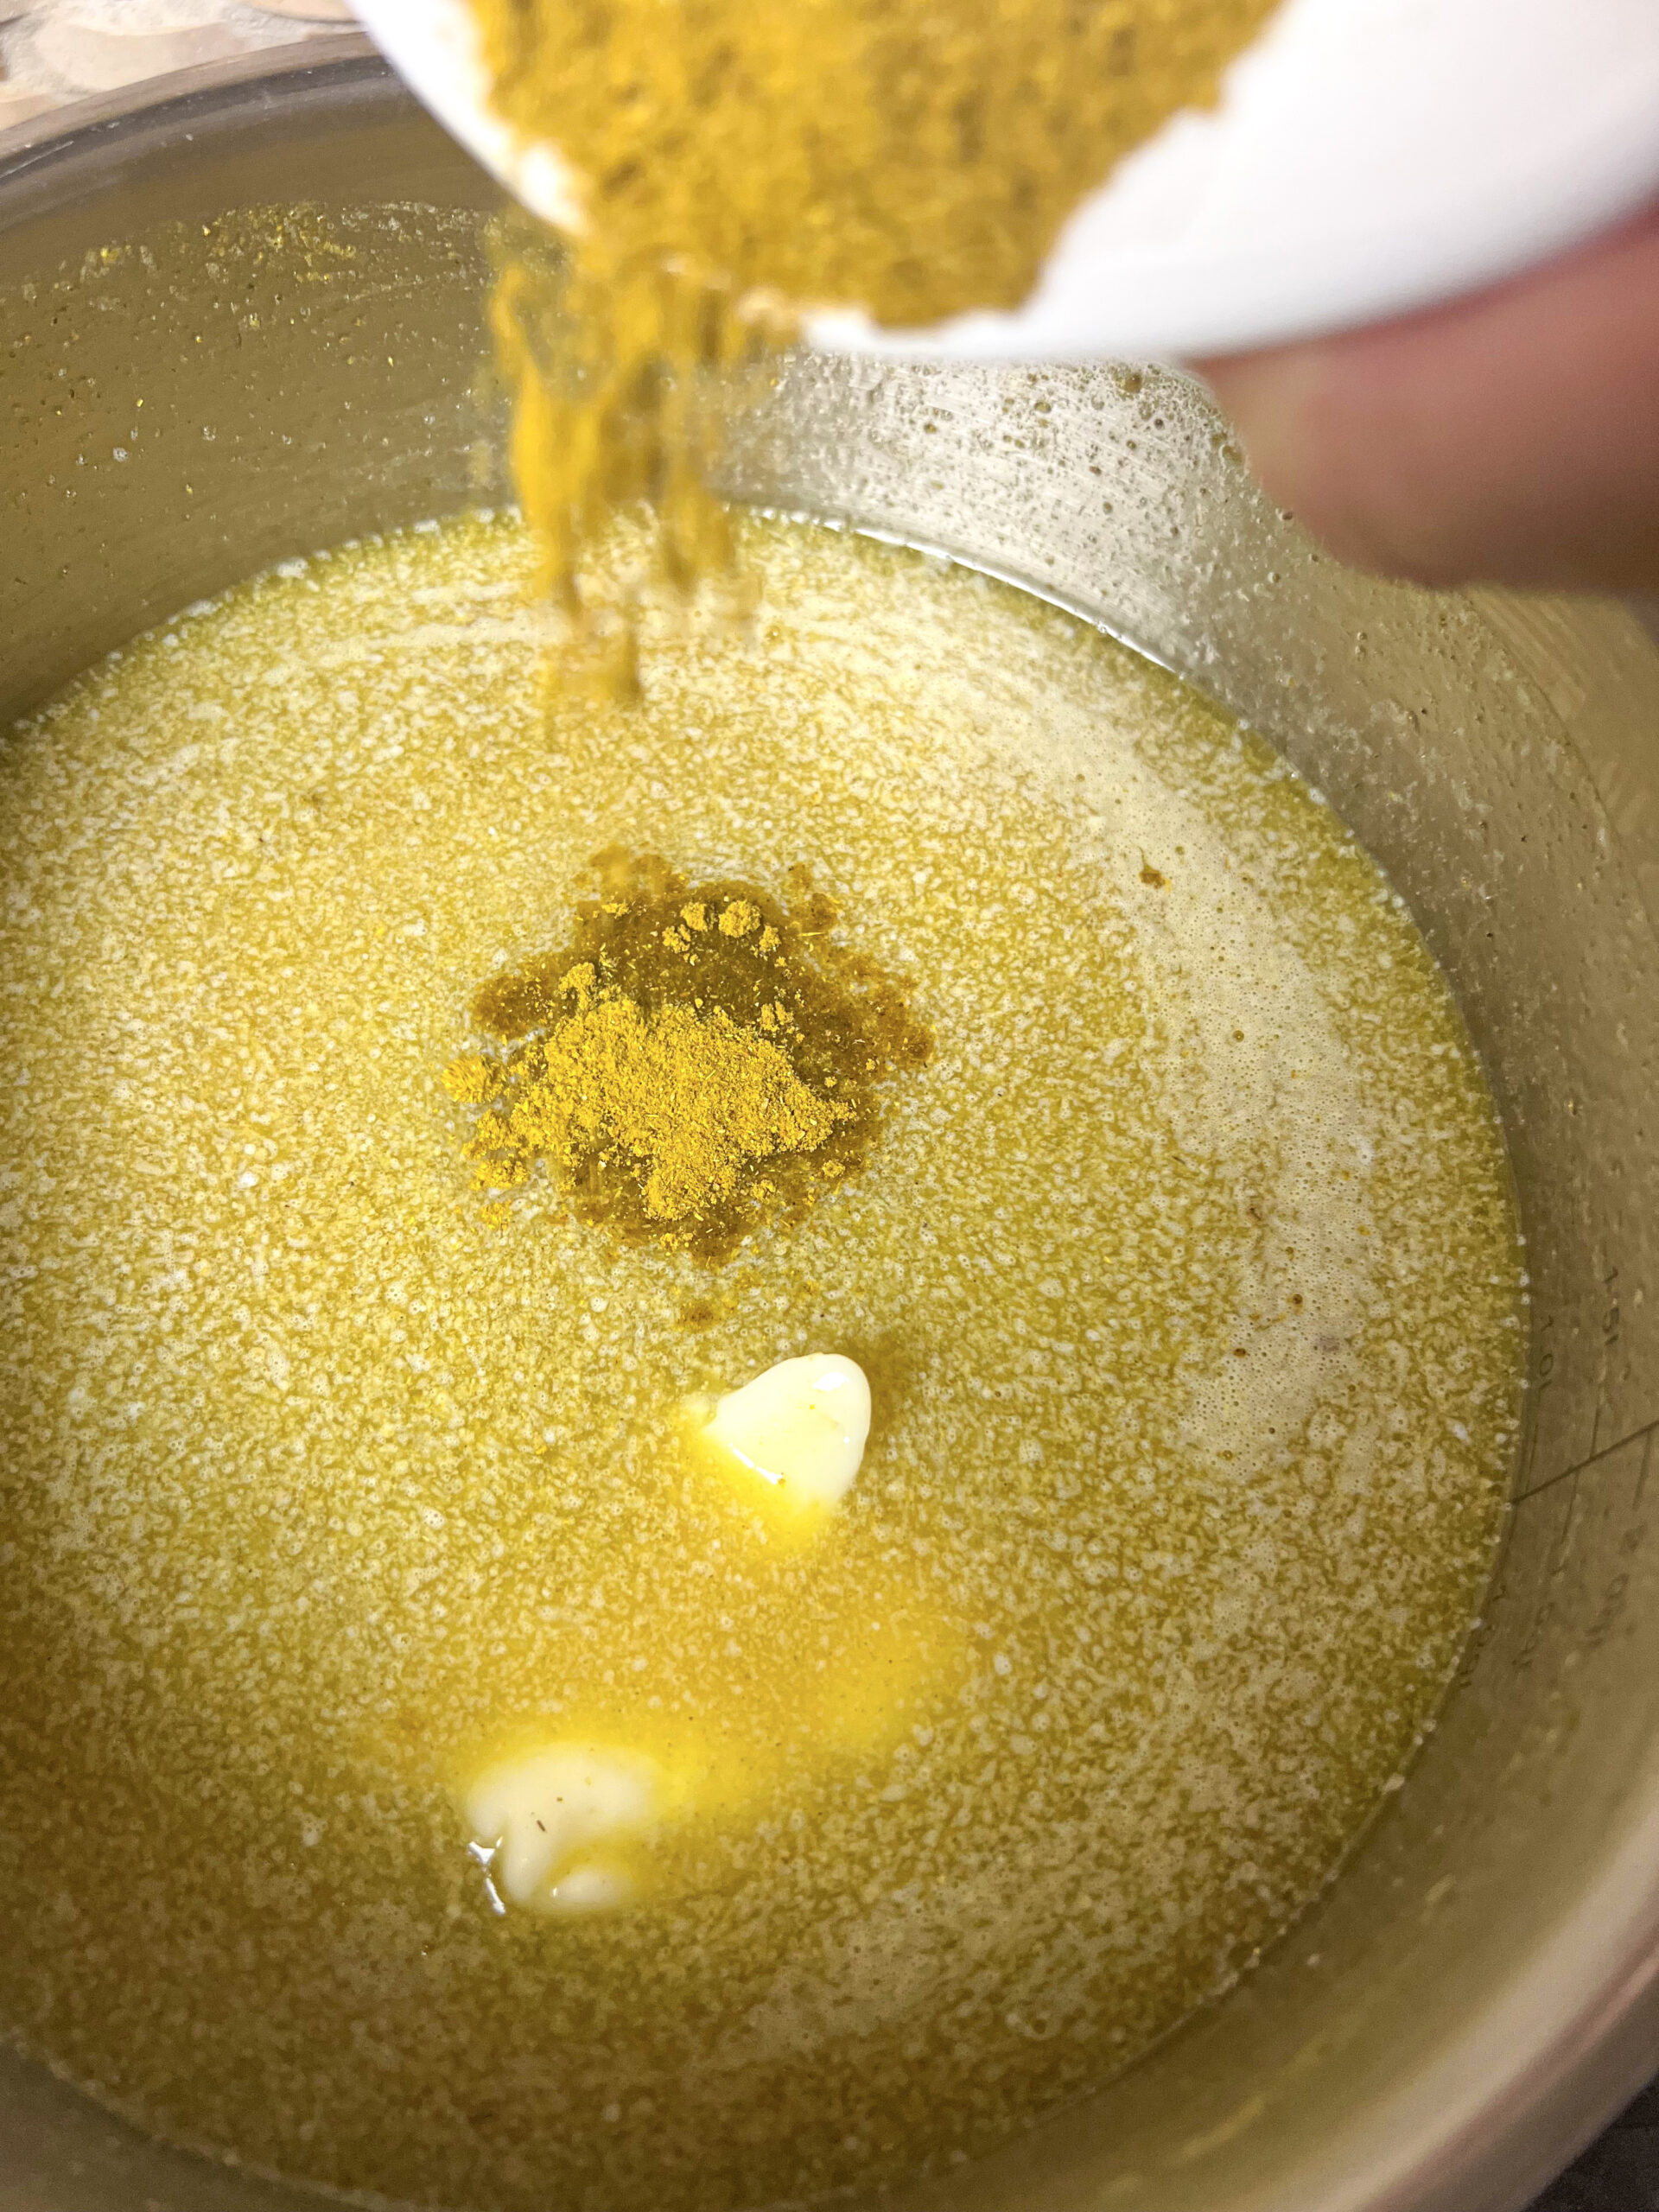
Melt the Butter (Optional: Add Hewaja for Flavor)

Cool, Strain, and Store
Use a ladle or small strainer to carefully transfer the clear golden fat into a clean glass jar, leaving the milk solids behind in the pot.
Allow the ghee to cool completely to room temperature, then seal the jar with a lid.
Learn how to make homemade ghee from butter using a simple stovetop method. This clarified butter is rich, flavorful, and perfect for cooking — inspired by a traditional Jordanian process but adapted for modern kitchens.
Type of Cuisine:
Middle Eastern
Prep Time: 30 minutes.
Cook Time: 45 minutes
Ingredients:
| 1 1/2 gallon of cold heavy cream | |
| Salt optional |
Preparation
Pour cold heavy cream into a stand mixer fitted with the whisk attachment. Whisk on high speed for about 10 minutes. First, the cream will turn into whipped cream. Keep going — it will eventually separate into butterfat and buttermilk. Once separation starts, reduce the speed to medium to prevent splattering. You can also drape a clean kitchen towel over the mixer for extra protection.
Once the butter has fully separated, remove the whisk attachment. Use a spatula or your hands to gather the butter from the whisk and bowl, and transfer it to a clean bowl. Some butter may stick to the whisk — just scrape off as much as you can. Store the buttermilk in a glass jar in the refrigerator for later use. .
Gently pat the butter dry with a paper towel to remove any remaining moisture. If you’d like to make salted butter, sprinkle in a pinch of salt and mix it in evenly. Shape the butter into a log, wrap it in wax paper, and store it in the refrigerator until ready to use.
Place the butter in a heavy-bottomed pot over low heat to melt it slowly. If you’re making flavored clarified butter (Samna Baladi), add 1 tablespoon of Hewaja and whisk it into the butter until well combined.
Once the ghee has fully separated, turn off the heat and let it cool slightly. Use a ladle or small strainer to carefully transfer the clear golden fat into a clean glass jar, leaving the milk solids behind in the pot. Allow the ghee to cool completely to room temperature, then seal the jar with a lid.
Nutrition Information
The information shown is an estimate provided by an online nutrition calculator. It should should not be considered a substitute for a professional nutritionist's advice.
See our full nutrition disclosure here.
Subscribe to my newsletter for authentic Mediterranean recipes, essential cooking tips, and the latest food news, all delivered directly to your inbox for FREE. Let’s create memorable dishes together!


If you made this ghee at home or have your own family tips, I’d love to hear from you. Leave a comment below and share your experience — your feedback makes this space feel like a real kitchen table!
.