This isn’t just apple pie—it’s THE apple pie. The one that makes your Thanksgiving table look like a magazine spread. The one everyone fights over. And surprisingly? It’s easier than the regular version.
Type of Cuisine:
American

Prep Time: 1 hour.
Cook Time: 1 hour 25 minutes

How Many Servings?
8-10 servings
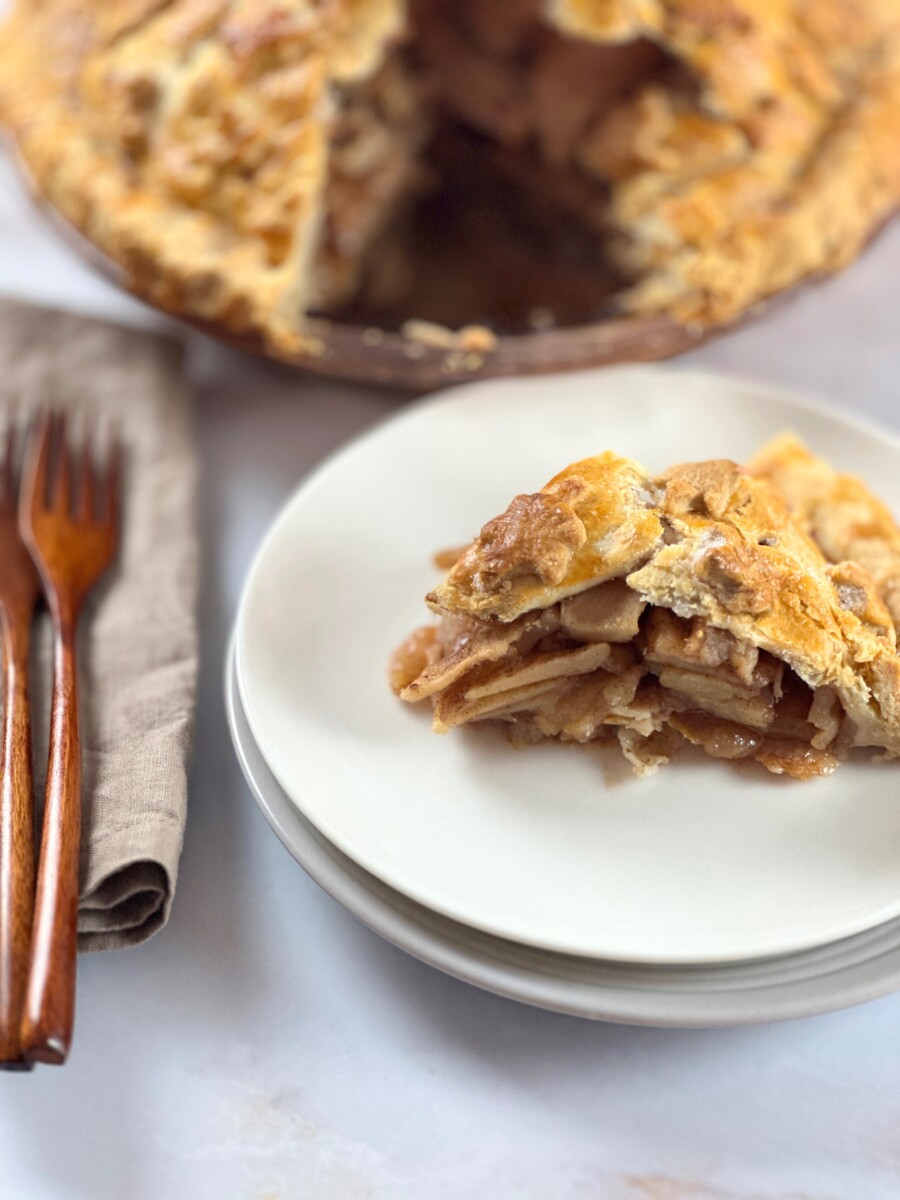
This easy deep-dish apple pie is a showstopper, and it has been for 20 years. Back when I ran my café, this towering, golden pie was a customer favorite. The aroma of warm cinnamon, tender apples, and buttery crust would fill the air, and people couldn’t resist.
Now it’s a permanent fixture on my Thanksgiving table. What makes it the best apple pie? It’s piled higher than a standard pie, the crust is incredibly flaky, and the filling is perfectly spiced. Plus, you can make the crust ahead, so there’s zero stress on the big day.
Whether you’re hosting Thanksgiving or bringing dessert to share, this deep-dish apple pie recipe will be the grand finale everyone remembers. Make it once, and it becomes a tradition.
Simple Ingredients for Your Easy Apple Pie
Now, let’s dive into the straightforward yet essential ingredients that make this easy apple pie a true delight. With just a handful of components, you’ll be well on your way to creating a masterpiece with everyone asking for seconds.

- All-purpose flour provides a sturdy foundation for your flaky pie crust, ensuring it will withstand the delicious filling.
- Unsalted butter is the key to a rich, buttery crust, melding perfectly with the flour for a melt-in-your-mouth pastry.
- Ice water: Helps bind and keep the dough together, contributing to the crust’s perfect texture.
- Salt: Enhances the overall flavor profile, balancing the sweetness of the apple filling.
- Large apples: The show’s star, these sweet and tart apples deliver that classic apple pie taste and tender texture.
- Sugar and light brown sugar: Sweetens the apple filling and adds depth with caramel notes.
- Lemon juice: Provides a refreshing zing that balances the sweetness and adds a touch of brightness.
- Cinnamon and nutmeg: The dynamic duo of spices that infuse your filling with warm, comforting flavors.
- Unsalted butter (again): Adds richness and a silky texture to the apple filling.
- Egg wash: Gives your pie a beautiful golden sheen, making it as appealing as it is delicious.
Why This is the BEST Deep-Dish Apple Pie
This isn’t your average apple pie—it’s deeper, taller, and more impressive. While a standard pie pan holds about 4 cups of filling, this deep-dish version packs in nearly 6 pounds of spiced apples for maximum flavor and drama.
What makes it special?
- 10-11 inch diameter, 2 inches deep: Nearly double the filling of a regular pie
- Perfectly balanced apples: A sweet-tart blend that doesn’t turn mushy
- Ultra-flaky homemade crust: Buttery layers that shatter with every bite
- Make-ahead friendly: Prep the crust and filling in advance for zero stress
This is the pie that makes people ask for the recipe. It’s impressive enough for Thanksgiving, easy enough for any Sunday dinner.
Make It Ahead: Your Stress-Free Timeline

The beauty of this easy apple pie? You can do almost everything ahead of time. Here’s your game plan:
1 Week Before:
- Make the pie dough and freeze it (tightly wrapped)
- Bonus: Make two batches and freeze one for next time!
1-2 Days Before:
- Thaw the dough in the refrigerator overnight
- Prepare the apple filling and refrigerate
Day Of:
- Bring filling to room temperature (30 minutes)
- Roll out the dough, assemble, and bake
- Total active time: About 30 minutes!
Pro Tip: Freezing pie dough preserves its texture and flakiness, and the extra rest time allows the gluten to relax, resulting in a more tender crust.
The Best Apples for Apple Pie
Not all apples are created equal when it comes to pie. You want varieties that retain their shape and offer a balance of sweet and tart flavors.
My Favorite Combo:
- 50% Granny Smith: Tart, firm, classic pie apple
- 50% Honeycrisp or Crispin (Mutsu): Sweet, crisp, aromatic
Why This Mix Works: The Granny Smith provides structure and bright tartness, while the sweeter apples add complexity and natural sugar. Together, they create a perfectly balanced filling, not too tart, not too sweet, and never mushy.
Other Great Options:
- Braeburn (sweet-tart, firm)
- Pink Lady (crisp, balanced)
- Jonathan (old-fashioned pie apple)
Avoid: Red Delicious, Gala, and McIntosh—they turn to mush when baked.
Shopping Tip: Look for firm apples with no soft spots. You’ll need about 6 pounds (roughly 10-12 medium apples).
Step-by-Step Instructions
Make the Pie Dough
Add 1 cup cold, cubed butter. Pulse 8-10 times until the mixture resembles coarse crumbs with pea-sized butter pieces.
With the processor running, drizzle in the ice water. Stop when the dough starts clumping together and looks shaggy (not smooth). If too dry, add 1 more tablespoon of water.
Turn out onto a floured surface and divide into two equal portions. Shape each into a 1-inch thick disc, wrap tightly in plastic wrap, and refrigerate for at least 1 hour (or up to 2 days)..
Prepare the Apple Filling

In a large bowl, toss the apple slices with ½ cup sugar and 2 tablespoons lemon juice. Let sit for 15 minutes.
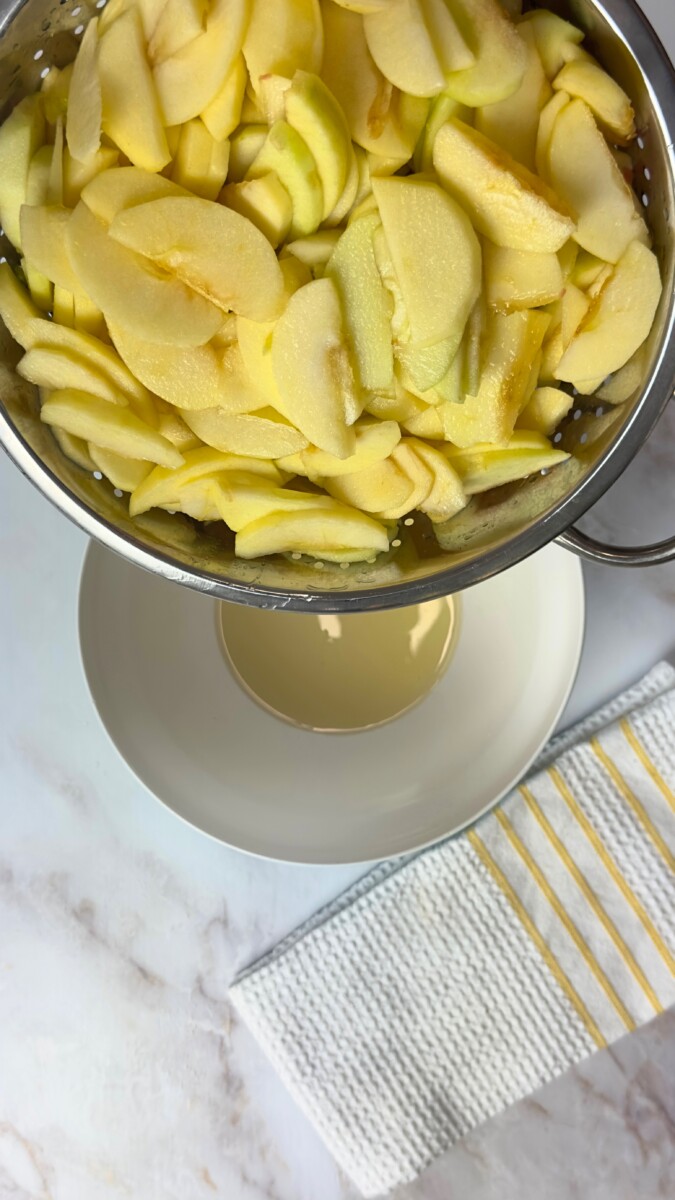
Transfer apples to a colander and drain for 5-10 minutes to remove excess liquid.
Add the Spices and Thickener
Sprinkle 3-4 tablespoons cornstarch over the apples and toss until no white streaks remain.
Prepare the Bottom Crust

Remove one dough disc from the refrigerator and let it sit for 5 minutes. Roll out on a floured surface into a 12-13-inch circle, about ⅛-inch thick.
Transfer to a 10-11-inch deep-dish pie pan (2 inches deep). Press gently into the bottom and sides, letting excess dough hang over the edges.
Fill the Pie
Cut 1 tablespoon of cold butter into small pieces and scatter over the filling.
Add the Top Crust
Trim both layers of dough to ¾-1 inch beyond the pan's edge. Fold the top crust under the bottom crust and press to seal.
Crimp or flute the edges with your fingers or press with a fork.
Vent and Add Finishing Touches

Whisk 1 egg with 1 tablespoon water. Brush over the entire top crust and edges.
Sprinkle with 1-2 tablespoons coarse sugar (optional but recommended).
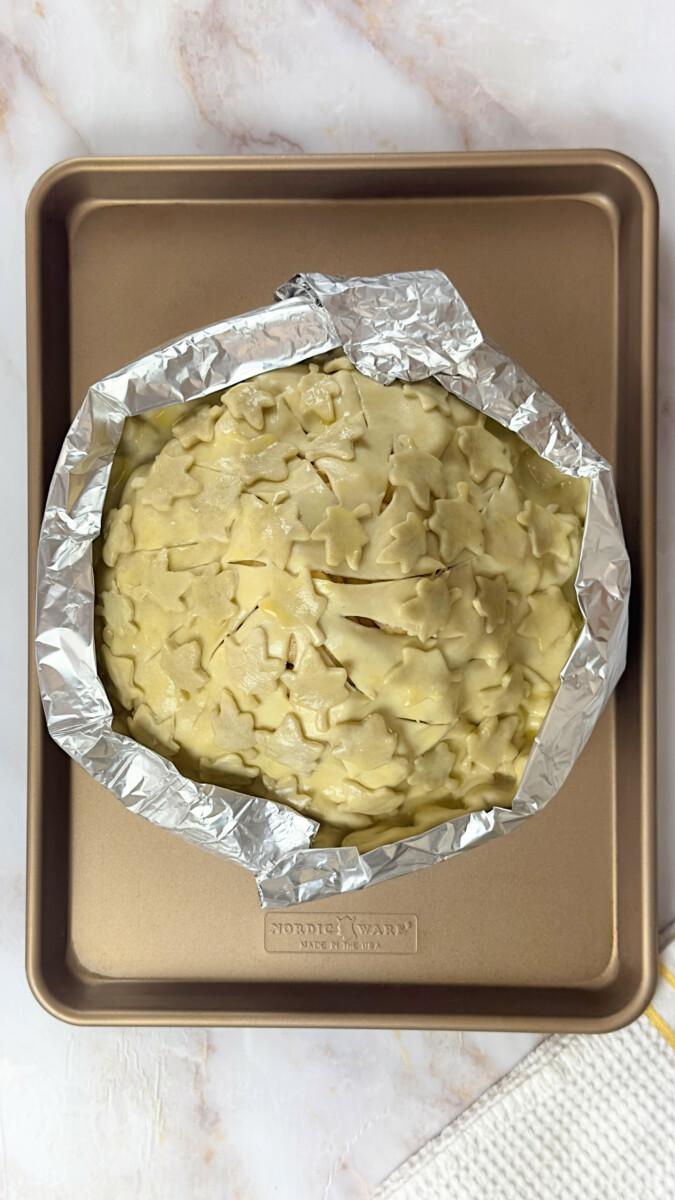
Protect the Edges
Bake the Pie
Reduce the temperature to 350°F and bake 45-60 minutes longer, until the crust is deep golden and filling is bubbling through the vents.
Remove the foil shield during the last 15-20 minutes.
Cool and Serve
Cool on a wire rack for at least 2-4 hours before slicing. Serve with vanilla ice cream or whipped cream if desired.
Get ready to bake the ultimate deep-dish apple pie! This pie combines the perfect blend of sweet and tart apples with a flaky, buttery crust. Follow this easy recipe to make a Thanksgiving dessert that will have everyone asking for seconds!
Type of Cuisine:
American
Prep Time: 1 hour.
Cook Time: 1 hour 25 minutes
How Many Servings?
8-10 servings
Ingredients:
| 2 ½ cups all-purpose flour | |
| 1 cup unsalted butter (cut into cubes and cold) | |
| ½ cup ice water | |
| ½ teaspoon salt | |
| 1 egg washed (1 large egg beat with one tablespoon of milk) | |
| Coarse sugar for sprinkling (optional) |
For the Apple Filling:
| 10 large apples (cored, peeled, and sliced into ¼ inch slices. About 12 cups or 6 lb of apples) | |
| ½ cup sugar | |
| ½ cup light brown sugar | |
| Juice of one lemon | |
| 2 teaspoons cinnamon | |
| ¼ teaspoon nutmeg | |
| 1 teaspoon salt | |
| 1 tablespoon unsalted butter | |
| 3-4 tablespoons corn startch |
Toppings
| 1-2 tablespoons coarse sugar (optional but recommended). |
Preparation
In a food processor, pulse the flour and ½ teaspoon salt 2-3 times. Add 1 cup cold, cubed butter. Pulse 8-10 times until the mixture resembles coarse crumbs with pea-sized butter pieces. With the processor running, drizzle in the ice water. Stop when the dough starts clumping together and looks shaggy (not smooth). If too dry, add 1 more tablespoon of water. Turn out onto a floured surface and divide into two equal portions. Shape each into a 1-inch thick disc, wrap tightly in plastic wrap, and refrigerate for at least 1 hour (or up to 2 days)..
Peel, core, and slice the apples into ¼-inch thick slices (you'll have about 12-14 cups). In a large bowl, toss the apple slices with ½ cup sugar and 2 tablespoons lemon juice. Let sit for 15 minutes. Transfer apples to a colander and drain for 5-10 minutes to remove excess liquid.
Return the drained apples to the bowl. Add the light brown sugar, cinnamon, nutmeg, and salt. Toss to coat. Sprinkle 3-4 tablespoons cornstarch over the apples and toss until no white streaks remain.
Preheat oven to 425°F. Remove one dough disc from the refrigerator and let it sit for 5 minutes. Roll out on a floured surface into a 12-13-inch circle, about ⅛-inch thick. Transfer to a 10-11-inch deep-dish pie pan (2 inches deep). Press gently into the bottom and sides, letting excess dough hang over the edges.
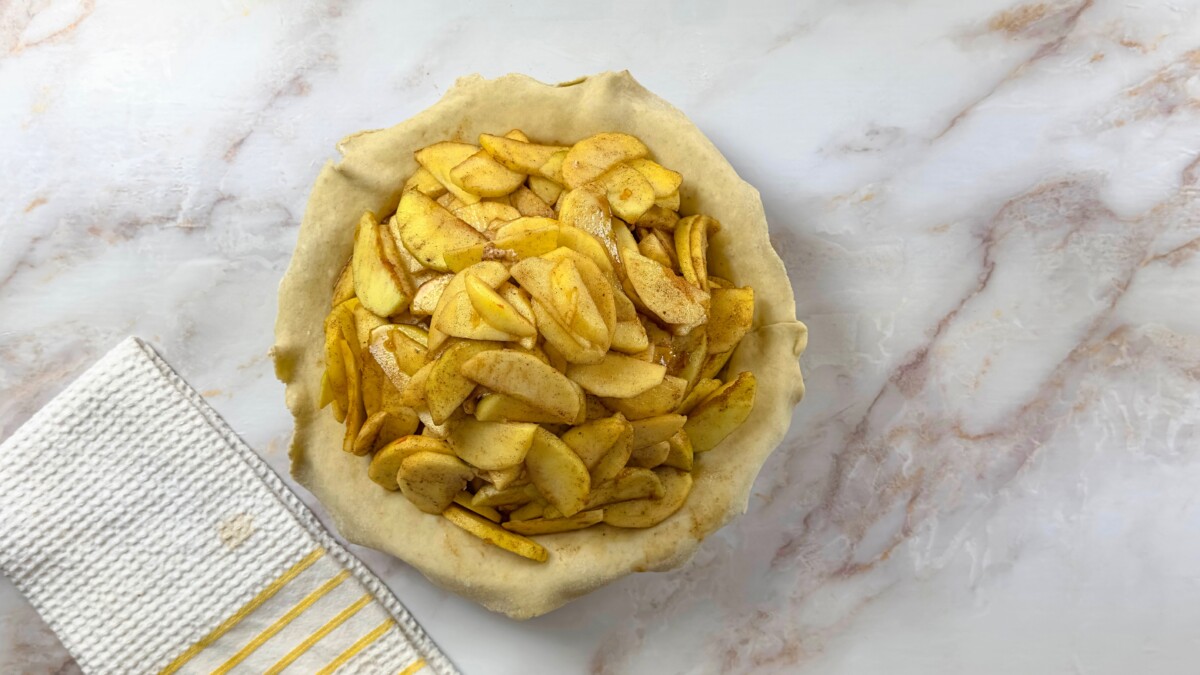
Spoon the apple filling into the crust, mounding it slightly in the center. Pack it snugly—it should dome 1-2 inches above the rim. Cut 1 tablespoon of cold butter into small pieces and scatter over the filling.
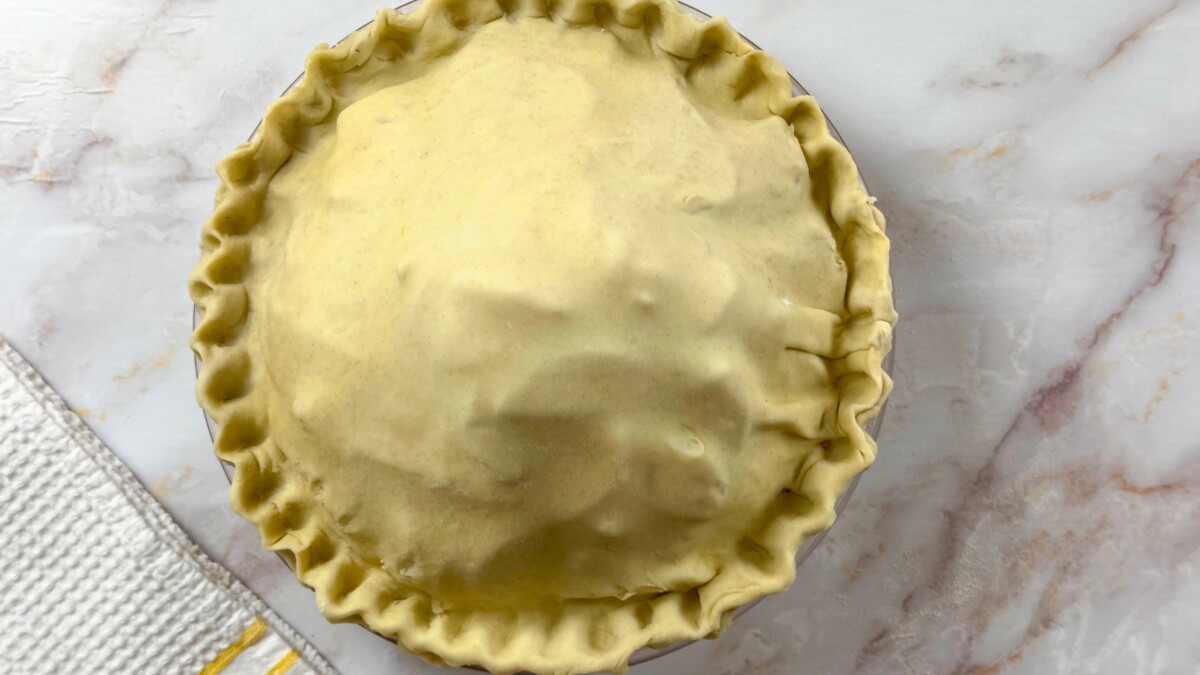
Roll out the second dough disc into a 12-13-inch circle. Drape it over the filling. Trim both layers of dough to ¾-1 inch beyond the pan's edge. Fold the top crust under the bottom crust and press to seal. Crimp or flute the edges with your fingers or press with a fork.
Cut 4-6 slits (about 2 inches each) in the top crust for vents. Whisk 1 egg with 1 tablespoon water. Brush over the entire top crust and edges. Sprinkle with 1-2 tablespoons coarse sugar (optional but recommended).
Cover the crimped edges with a pie shield or aluminum foil ring to prevent over-browning.
Place the pie on a rimmed baking sheet. Bake at 425°F for 25 minutes. Reduce the temperature to 350°F and bake 45-60 minutes longer, until the crust is deep golden and filling is bubbling through the vents. Remove the foil shield during the last 15-20 minutes.
Cool on a wire rack for at least 2-4 hours before slicing. Serve with vanilla ice cream or whipped cream if desired.
Nutrition Information
The information shown is an estimate provided by an online nutrition calculator. It should should not be considered a substitute for a professional nutritionist's advice.
See our full nutrition disclosure here.
Subscribe to my newsletter for authentic Mediterranean recipes, essential cooking tips, and the latest food news, all delivered directly to your inbox for FREE. Let’s create memorable dishes together!

Did you try this recipe? We’d love to hear from you! Please leave a comment below to let us know what adjustments you made, and how it turned out for you.