Every bite of this Kofta Kebab takes me back to warm summer evenings, smoky grills, and the unmistakable aroma of spices filling the air.

Type of Cuisine:
Middle Eastern

Prep Time: 15 minutes (plus 2 hours of chilling).
Cook Time: 15 minutes

How Many Servings?
6-8 servings
Kofta Kebab Recipe lovers—this one’s for you. These juicy, flavorful Middle Eastern kofta kebabs are made with ground meat, onion, herbs, and warm spices, then grilled, pan-seared, or baked in the oven.
Inspired by childhood memories and homemade spice blends, this kofta kebab recipe is perfect for gatherings, family-style meals, or an easy weeknight dinner when you’re craving comfort and bold flavor.
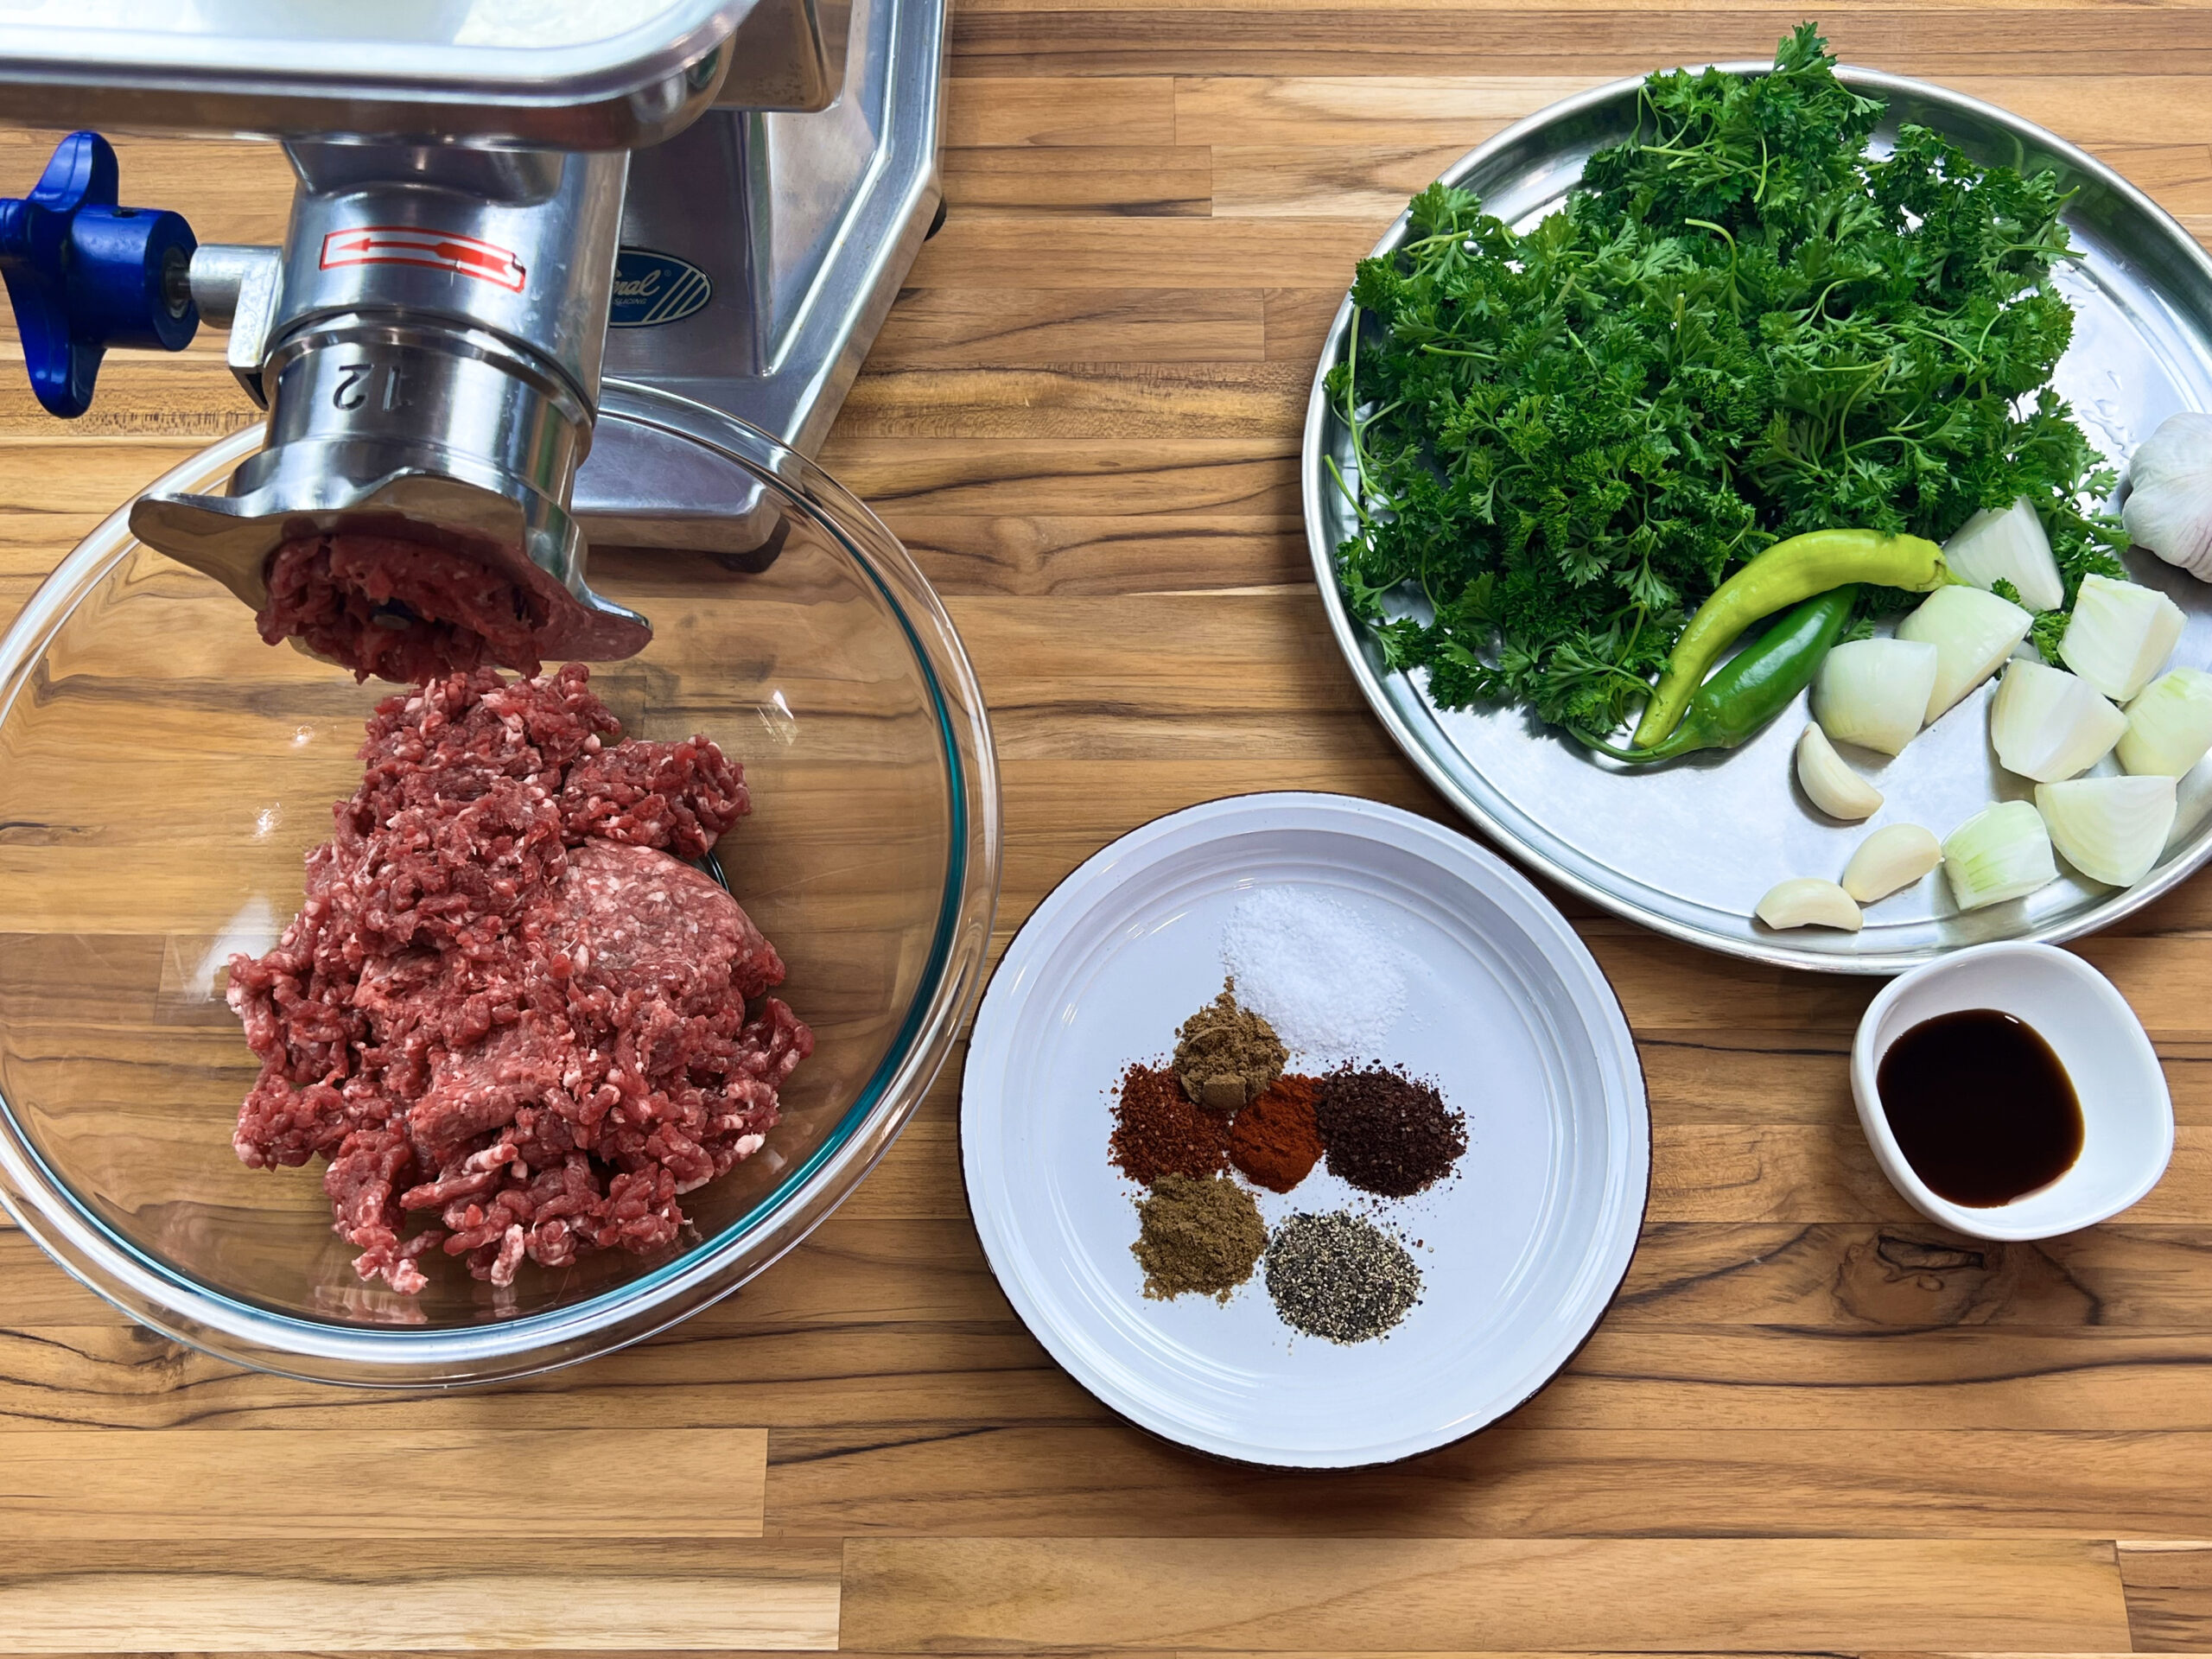
Ingredients for Kofta Kebab Recipe
My Kofta Kebab Recipe Secret
While many recipes call for bread or breadcrumbs to help bind the meat, I skip that step. In my experience, adding bread can actually dry out the kofta. For juicier kebabs, I recommend mixing your spices into the meat and then letting the mixture rest in the fridge for a few hours to firm up and deepen the flavor.
Right before cooking, lightly brush each kebab with olive oil. Whether you’re grilling or pan-searing, patience is key—flip only once. Grill for about 4 minutes on the first side, then 3 minutes on the other to lock in those juices and get that beautiful char.
How to Form the Perfect Kofta Kebabs
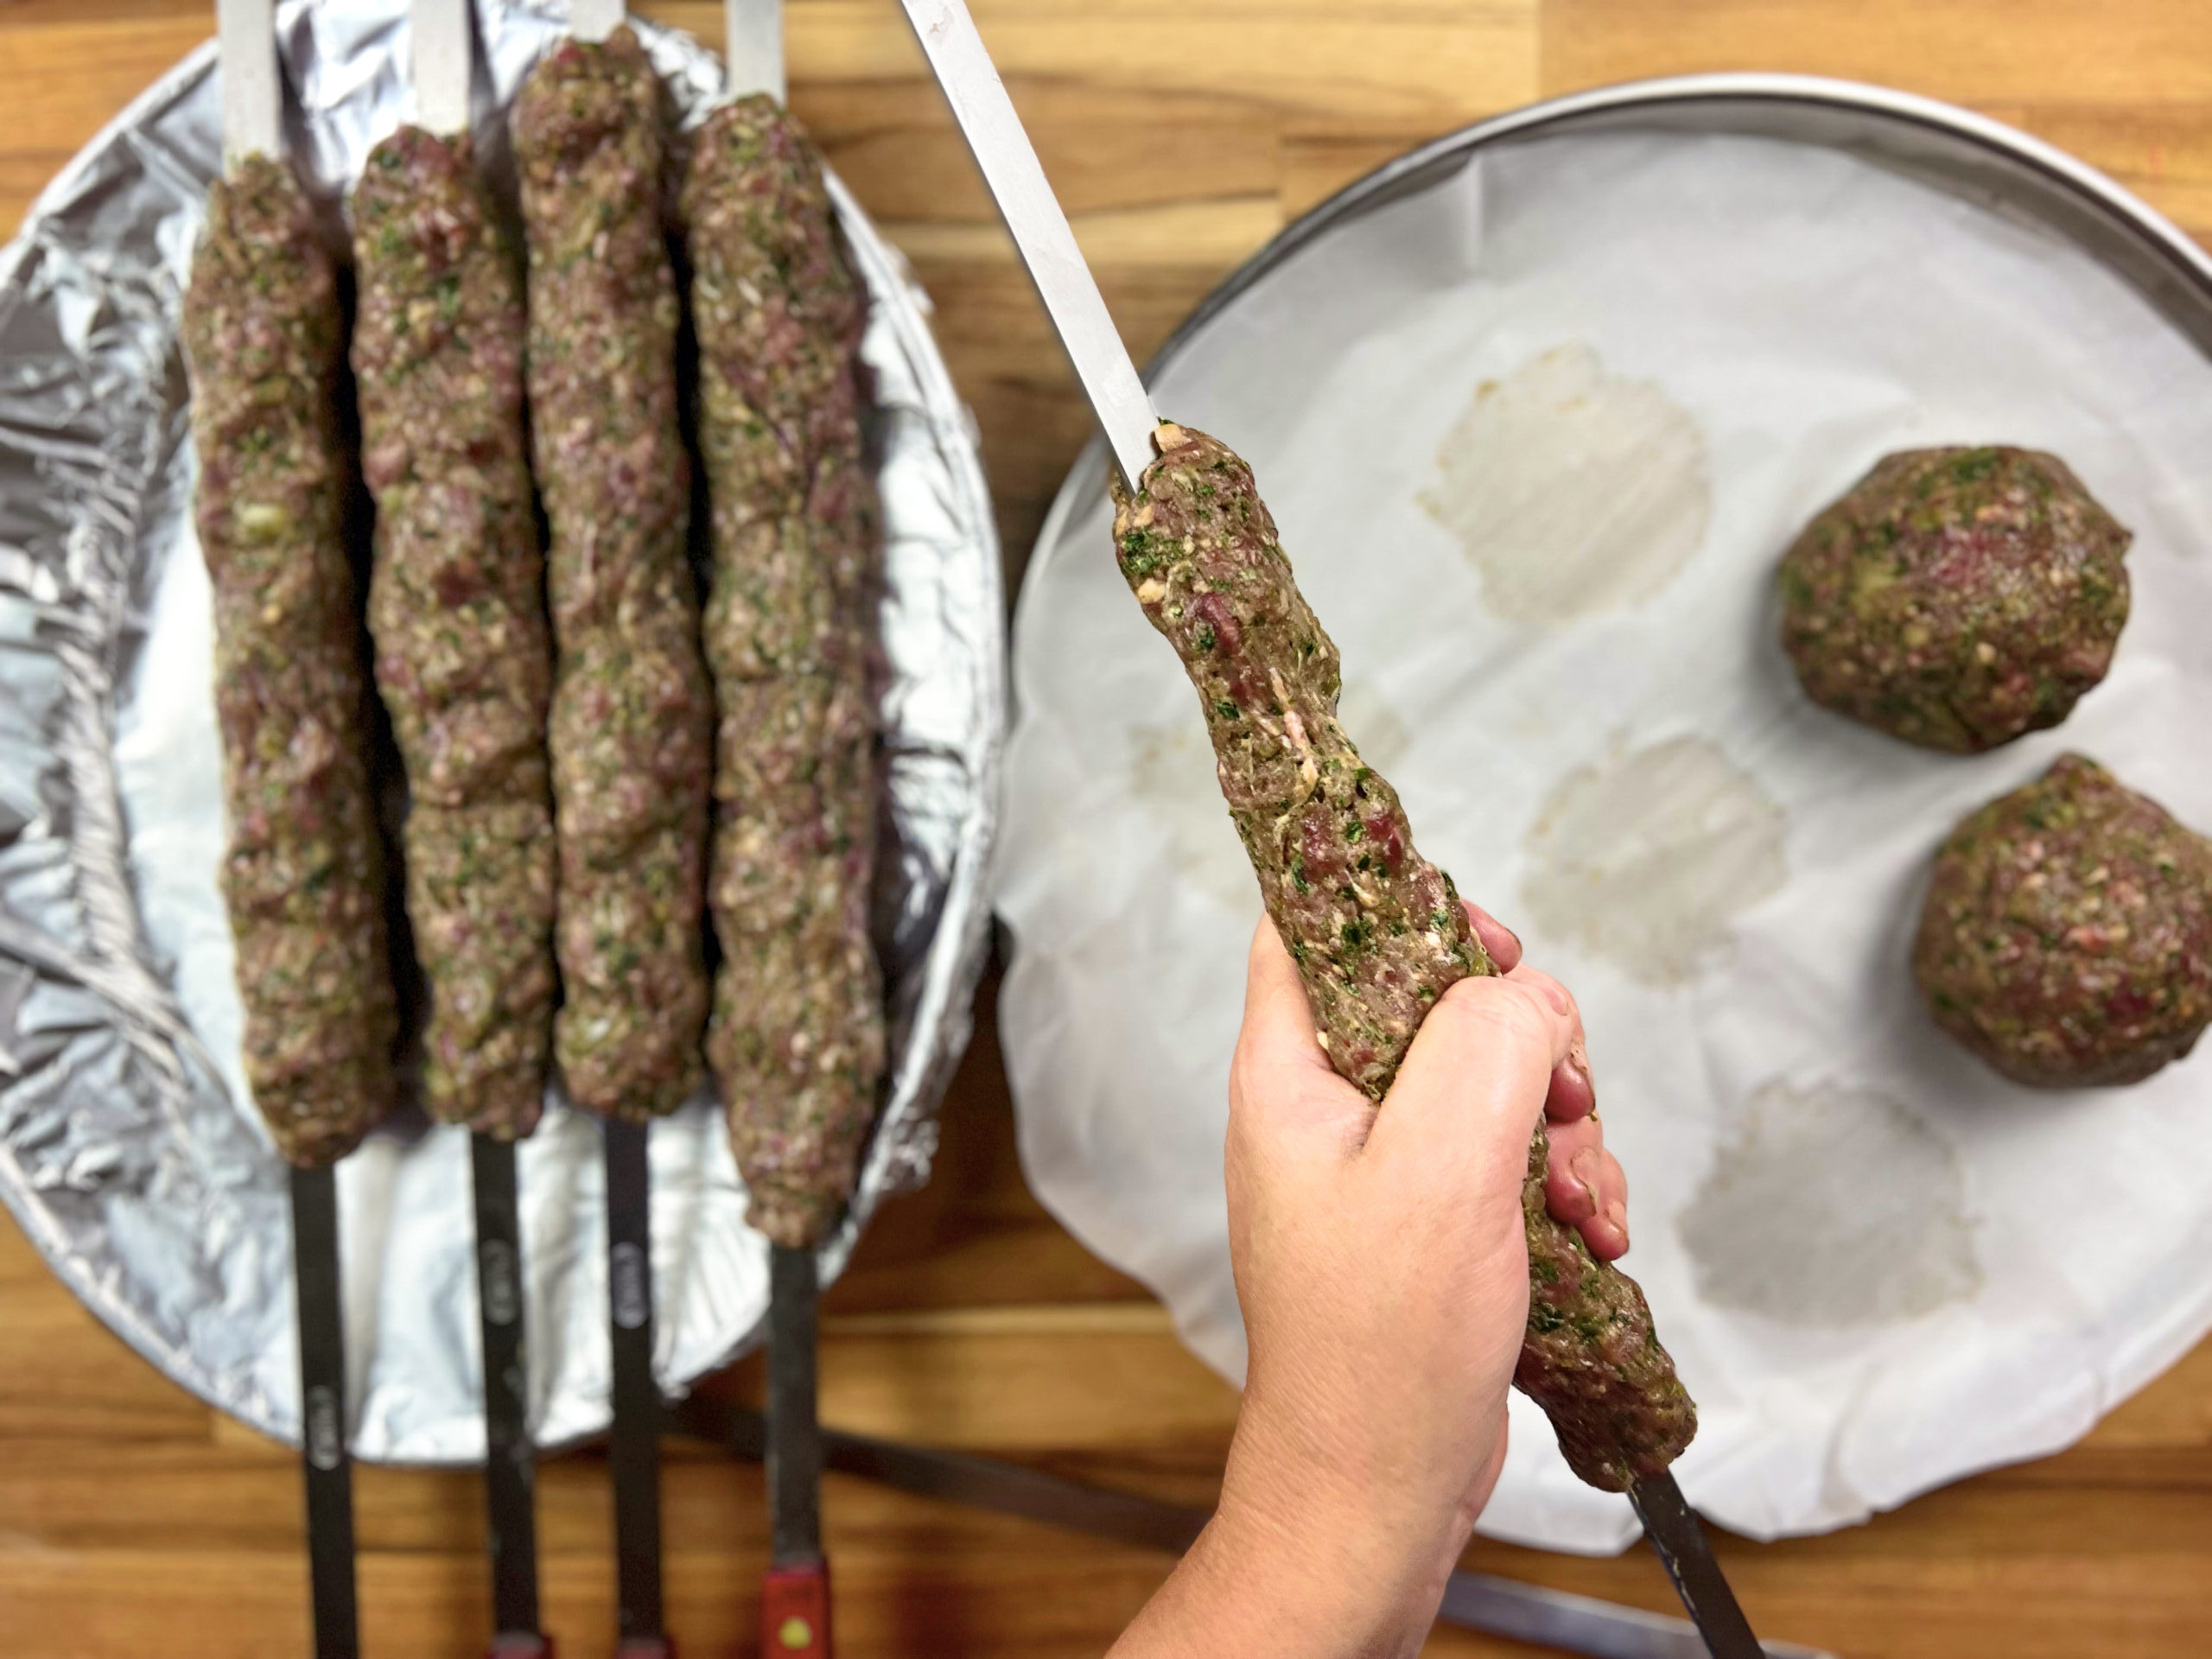
- Getting the shape right is key to kofta kebabs that hold together, cook evenly, and stay juicy on the grill. For best results, use long metal skewers, which provide stability and help the meat cook evenly from the inside out.
- Shape each kofta into a log about 4 inches long and 1 inch thick. Keeping the thickness consistent is important—too thick and the center may stay undercooked; too thin and the kofta can dry out or fall apart.
- Because the mixture can be a bit sticky, lightly wet your hands with water before shaping. This prevents sticking and helps you create a smooth, compact kofta. Press the meat firmly onto the skewer and secure both ends well so it stays in place during cooking.
- For extra insurance, refrigerate the shaped kofta for at least 1–2 hours before grilling. Chilling firms up the mixture and helps the kebabs keep their shape on the grill.
- Be gentle but confident as you shape them—and don’t worry if your first few aren’t perfect. Like most traditional recipes, shaping kofta is a skill that gets easier with practice. Once you get the feel for it, you’ll be grilling kofta kebabs like a pro.
Savoring the Authentic Way
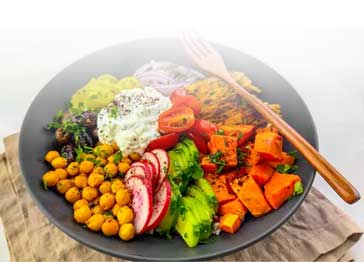
Kofta kebabs are a staple of Middle Eastern BBQ spreads—often called Mashawi—where grilled meats are served with bold dips, fresh salads, and warm bread. If you’re making this Kofta Kebab recipe for the first time, here’s a delicious traditional way to serve it.
Start with a creamy dip like hummus or baba ghanoush (smoky roasted eggplant). If you want something a little different, muhammara—made with roasted red peppers and walnuts—adds the perfect sweet and spicy kick.
To balance the richness of the kofta, add a fresh salad like Fattoush (crispy pita, herbs, and bright lemony flavor) or a simple chopped salad like Salata Arabiya.
And don’t forget the sides that make it a full meal: warm pita bread, vermicelli rice, or a simple rice pilaf. To finish, add a cool cucumber yogurt sauce on the side—it’s fresh, creamy, and perfect with grilled kofta.
Tip: Serve everything family-style so everyone can build their own pita wrap.
Commonly Asked Questions
Can I prepare the kofta kebab mixture in advance?
Yes! Making it up to 24 hours ahead actually helps the flavors develop. Keep it tightly covered in the refrigerator. For best results, shape the kofta right before cooking (or shape and chill if you’re short on time).
What can I use instead of lamb for kofta kebabs?
You can use ground beef (classic), ground chicken, or a mix. Keep in mind: lean meats (like chicken breast) can dry out, so choose a little fat if possible and don’t overcook.
Can I bake kofta kebabs if I don’t have a grill?
Absolutely. Preheat the oven to 400°F (200°C) and bake for 15–20 minutes (time depends on thickness), flipping once halfway. If you want extra browning, broil for 1–2 minutes at the end—watch closely.
How do I keep kofta from falling off the skewers?
Chill the mixture for 20–30 minutes, press it firmly onto the skewer, and don’t make the logs too thick. Also, oil the grill grates and turn gently. (If it’s still tricky, shape into logs and cook without skewers.)
What’s a good substitute for Aleppo pepper?
Use ¾ teaspoon sweet paprika + ¼ teaspoon cayenne for a similar mild heat. If you want it less spicy, use all paprika.
What can I use instead of sumac?
Sumac is tangy and lemony. Use lemon zest (best) or a pinch of lemon pepper seasoning. Start small and adjust to taste.
What’s a substitute for pomegranate molasses?
Mix 1 tablespoon of honey (or molasses) with 2 teaspoons lemon juice for a sweet-tart swap. (Taste and adjust—some people like it more tangy.)
Can I freeze kofta?
Yes. Shape the kofta, freeze on a tray until firm, then store in a freezer bag. Thaw overnight in the fridge before cooking, or cook from frozen with a little extra time.
Alternative Cooking Methods
- Stovetop: Heat a grill pan or cast-iron skillet over medium-high heat. Add the kofta kebabs and cook for 3–4 minutes per side until nicely seared and cooked through.
- Oven: Preheat the oven to 400°F (200°C). Place the kofta kebabs on a baking sheet lined with parchment or foil. Bake for 20–25 minutes, flipping once halfway through, until cooked through and lightly browned.
Step-by-Step Instructions
Blend the Aromatics
Prepare the Meat

Mix the Meat and Spices

Knead the Mixture

Shape and Chill

Skewer and Prep for Grilling
Shape for pan-searing (no skewers)
Cook (choose one method)

Pan-sear: Heat 1–2 tablespoons olive oil in a large skillet over medium-high heat. Cook kofta 3–4 minutes per side until deeply browned and cooked through (work in batches; don’t crowd the pan).
Cook to 160°F (beef/lamb) if you want a doneness note (optional but helpful).
Rest + serve
Succulent Kofta Kebabs, seasoned with a blend of traditional Middle Eastern spices, grilled to perfection, and paired with delectable sides. This recipe captures the essence of the Middle East on a plate
Type of Cuisine:
Middle Eastern
Prep Time: 15 minutes (plus 2 hours of chilling).
Cook Time: 15 minutes
How Many Servings?
6-8 servings
Ingredients:
| 1 lb ground lamb | |
| 1 lb ground beef | |
| 1 medium-size onion (cut into big chunks) | |
| 1 bunch parsley (either curly or Italian, works) | |
| 3 cloves garlic | |
| 1 alapeño pepper, thinly sliced (seeds removed for less heat; add a second jalapeño for more heat) | |
| 1 teaspoon cumin | |
| 1 teaspoon coriander | |
| ½ teaspoon black pepper | |
| 1 teaspoon Aleppo pepper | |
| 1 teaspoon sumac | |
| 2 teaspoons salt | |
| 2 tablespoons pomegranate molasses (optional) |
Preparation
In a food processor, combine the onion, garlic, parsley, and jalapeño. Pulse until the mixture is coarsely chopped and well blended, forming a fragrant, slightly chunky base.
Either grind your meat using a meat grinder (as shown in the photo) or use freshly ground lamb or beef from your local butcher. Having the meat ready ahead of time ensures a smoother prep process.
In a large mixing bowl, combine the ground lamb and beef and mix well. Add the processed onion mixture to the meat and blend until evenly incorporated. Sprinkle in all the spices and salt, then mix thoroughly to ensure the flavors are evenly distributed.
Using your hands, knead the meat mixture thoroughly for about 3 minutes. This helps the spices blend evenly and creates a cohesive texture that will hold well on the skewers.
Divide the meat mixture into equal-sized portions and roll them into meatballs. Arrange them on a tray lined with wax paper or parchment. Refrigerate for about 2 hours—this helps them firm up and hold their shape when skewered and cooked.
Once the meatballs are chilled and firm, mold each one onto a skewer, shaping them into long, even logs about 1 inch thick. Be sure the meat is tightly secured at both ends to prevent slipping during grilling. Lightly brush both sides with olive oil to enhance browning and prevent sticking.
No grill? Shape the mixture into short logs (about 4–5 inches long) or oval patties about ¾–1 inch thick. Keep them uniform so they cook evenly. If the mixture feels sticky, lightly wet your hands with water.
Grill: Preheat grill to medium-high and oil the grates. Grill kofta about 3–5 minutes per side, turning carefully until browned and cooked through. Pan-sear: Heat 1–2 tablespoons olive oil in a large skillet over medium-high heat. Cook kofta 3–4 minutes per side until deeply browned and cooked through (work in batches; don’t crowd the pan). Cook to 160°F (beef/lamb) if you want a doneness note (optional but helpful).
Let the kofta rest for 5 minutes before serving to keep them juicy.
Recipe Tips & Suggestions
Storing Kofta Kebabs:
Reheating Kofta Kebabs:
Nutrition Information
The information shown is an estimate provided by an online nutrition calculator. It should should not be considered a substitute for a professional nutritionist's advice.
See our full nutrition disclosure here.
Subscribe to my newsletter for authentic Mediterranean recipes, essential cooking tips, and the latest food news, all delivered directly to your inbox for FREE. Let’s create memorable dishes together!

-
 Manoj Kumar
Fantastic guide on shaping Kofta Kebabs! The tips on using metal skewers for stability and wetting your hands to prevent stickiness are especially helpful. The reminder to refrigerate the Koftas before grilling to help them hold their shape is a great trick I hadn’t considered. Thanks for these detailed steps — they’ll surely make my next grilling session much smoother and more successful!
http://www.bismicaterersperambur.com/
-
Rana Madanat
Thank you Manoj so much for your kind words! I’m thrilled to hear that you found the guide on shaping Kofta Kebabs helpful. The tips about using metal skewers and wetting your hands are some of my favorites too, as they can make a big difference in the grilling process. I’m especially glad that the tip about refrigerating the Koftas was new to you – it’s a simple trick that can really improve the final outcome. Happy Grilling !
-
-
Sandra
🔥 These spiced meat skewers are bursting with bold flavors—think juicy, savory, and just the right amount of kick. The blend of herbs and spices is a game-changer, making every bite a delightful surprise. Plus, they’re super easy to grill to perfection. Get ready for a kebab-tastic experience that will have you coming back for more! 🍢💥
-
Rana Madanat
Thank you so much, Sandra! 🌟 I’m thrilled you enjoyed the spiced meat skewers. The blend of herbs and spices really does make a difference, right? 😊 I’m glad you found them easy to grill to perfection. Your description is making me crave them all over again! Enjoy your kebab-tastic grilling season!
-
-
Mason Liles
Can you bake these in the oven instead of grilling?
-
Rana Madanat
HI Mason, you can definitely bake these kofta kebabs in the oven instead of grilling. Just preheat your oven to 400°F, arrange the kofta on a lined baking sheet, and bake for about 18 to 22 minutes, flipping them halfway through to ensure even cooking. If you’d like a slightly charred, grilled-like finish, you can broil them for the last 2 to 3 minutes—just keep a close eye on them so they don’t overcook. The result is juicy, flavorful kofta with less mess and no need for a grill! Happy Cooking
-
Tried this Kofta Kebab Recipe? I’d love to hear from you! Please leave a comment below and let us know how it turned out for you. Did you make any adjustments or add a personal twist? Share your experiences so others can benefit and perhaps even get inspired by your culinary creativity!