This classic Mediterranean cauliflower fritter was a staple in my mom’s kitchen—crispy on the outside, tender on the inside, and always made with love.
Type of Cuisine:
Mediterranean

Prep Time: 25 minutes.
Cook Time: 20–25 minutes

How Many Servings?
6–8 fritters
Cauliflower fritters were a staple in my mom’s kitchen—crispy, golden, and packed with flavor from za’atar and sumac. Cauliflower is a beloved vegetable in Mediterranean cooking, and my mom always found creative ways to use it. While she made these spiced fritters often, my dad preferred his cauliflower simply fried, no extras. If you love cauliflower too, don’t miss my Cauliflower Broccoli Salad, Roasted Cauliflower with Tomatoes & Feta, or Whole Roasted Cauliflower with Tahini Sauce. But today, let’s bring back a classic with a flavorful twist!
Ingredients for Cauliflower Fritters

-
Cauliflower florets: The star of the recipe! Light, tender, and perfect for soaking up all the flavors.
-
Eggs: These help bind everything together, giving the fritters a rich, fluffy texture.
-
Green onions: Use both the white and green parts for fresh, sharp flavor and a touch of color.
-
Fresh parsley: Adds a burst of brightness and that signature Mediterranean herbal note.
-
Za’atar & Sumac: This bold duo adds the perfect Mediterranean flair: za’atar brings an earthy, herby depth, while sumac adds a tangy, lemony pop that brightens each bite.
-
Garlic (optional): For a bit of extra punch, feel free to skip it if you prefer a milder taste.
-
All-purpose flour: Helps give structure to the fritters. Start small and adjust to get the right consistency.
-
Baking powder: A little lift makes the fritters light and airy instead of dense.
-
Olive oil: Used for pan-frying; adds richness and that classic Mediterranean depth.
-
Lemon juice & extra sumac (for serving): A squeeze of lemon and a final sprinkle of sumac take these fritters over the top!
How to Prepare Cauliflower for Fritters
Here’s how I prep cauliflower to get that perfect texture—soft but never soggy! It makes all the difference for crispy, flavorful fritters.
- Trim & Cut: Start with a whole cauliflower. Remove the leaves and core, then cut it into small florets. I like to keep a mix of finely chopped pieces and a few chunkier bits for extra texture.
- Blanch, Don’t Boil: Bring a large pot of salted water to a gentle boil. Add the cauliflower florets and cook for 3 to 4 minutes—just until they’re slightly tender. You don’t want them mushy.
- Ice Bath: Immediately transfer the florets to a bowl of ice water. This stops the cooking and helps preserve texture.
- Dry Well: Spread the cauliflower out on a clean kitchen towel or paper towels and pat dry thoroughly. This step is key to avoiding soggy fritters.
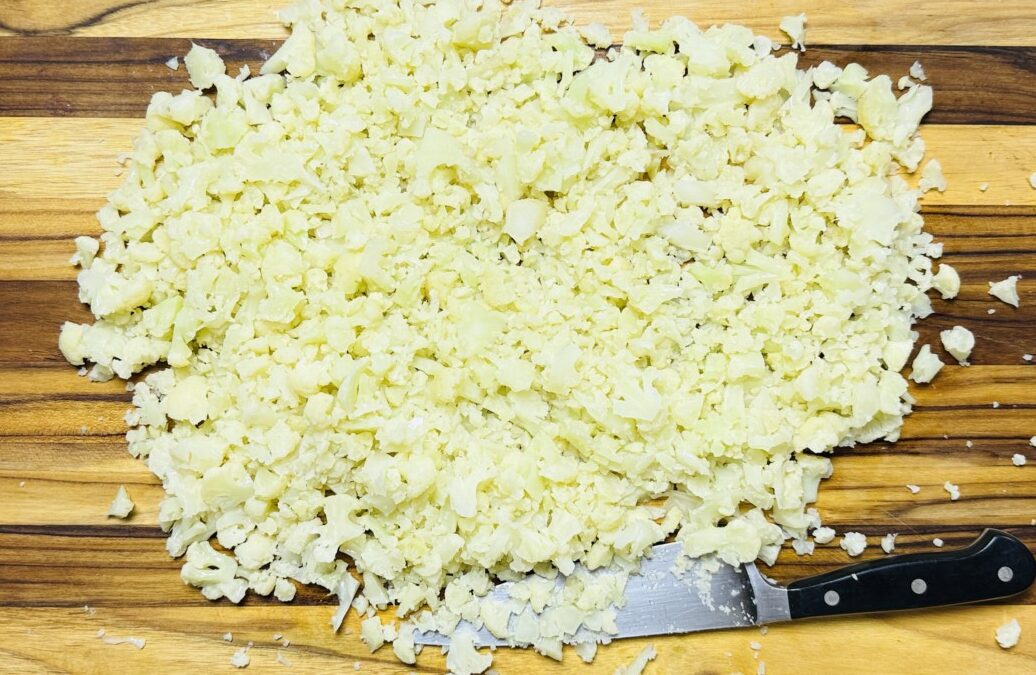
- Chop: Roughly chop the cooled, dried cauliflower. A mix of small and slightly larger pieces creates a great bite and keeps the fritters interesting.
Tips for Perfect Cauliflower Fritters
Let’s talk real kitchen talk—because fritters can go from crispy and delicious to why-is-this-falling-apart fast. Here are my go-to tips to help you avoid the common mistakes and get them just right:
- Egg-to-Flour Balance: If your batter feels too runny, your fritters might fall apart. If it’s too thick, they’ll feel doughy. I usually start with 5 eggs and add the flour gradually, just enough to bind everything. Use a spoon and test the texture—it should hold together but still feel soft.
- Don’t Skip the Baking Powder: That tiny bit of baking powder helps lighten the fritters. Without it, they can feel too dense. It’s subtle but makes a difference!
- Use a Large Spoon—Or Go Bite-Size: like using a big serving spoon to scoop generous portions into the pan, because who doesn’t love a hearty fritter? But if you’re making these for a party or mezze platter, you can definitely use a smaller spoon to create bite-sized fritters.
- Olive Oil + Medium-High Heat = Golden Crispy Edges: Too hot and they’ll burn. Too cold and they’ll soak up the oil. Medium-high heat is the sweet spot. I always do a test fritter first.
- Don’t Crowd the Pan: Give each fritter space to breathe so they crisp up properly—otherwise, they steam and go soft.
- Drain on a Towel: Once cooked, place them on a paper towel to remove excess oil. It keeps the outside crispy and light.
How to Serve These Cauliflower Fritters
These crispy fritters are amazing straight out of the pan, but I highly recommend serving them with a side of creamy tahini sauce for dipping, or drizzle it right on top. It adds a rich, tangy layer that balances the warm spices.
You can also tuck them into pita bread with shredded lettuce, cucumbers, and a spoonful of labneh for a fun mezze-style lunch. Or just serve them with lemon wedges and a fresh herb salad for a lighter option.
Make Ahead & Reheat
These cauliflower fritters are perfect for making ahead! Once cooked, let them cool completely, then store them in an airtight container in the fridge for up to 3 days. To reheat, just pop them in the oven at 350°F for about 10 minutes or warm them in a skillet until crispy again. They also freeze well—just reheat straight from frozen for a quick snack or light lunch!
Step-by-Step Instructions
Prep the Cauliflower

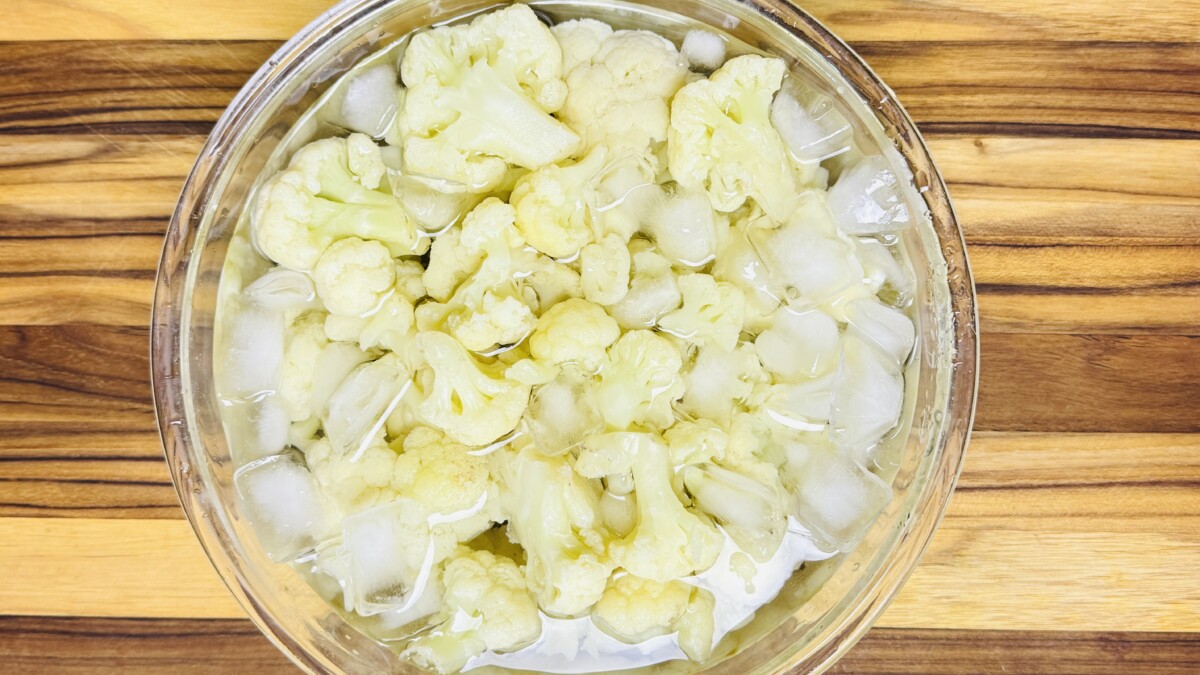

Right after, transfer them to a bowl of ice water to stop the cooking. Once cooled, drain well and pat dry with a clean towel. This step helps prevent soggy fritters and keeps the texture just right!
Chop the Cauliflower
Mix the Batter


Next, add the flour and baking powder. Stir until it forms a thick, scoopable batter. It should hold together nicely—if it feels too wet or loose, just sprinkle in a little more flour until the texture feels right.
Fry the Fritters
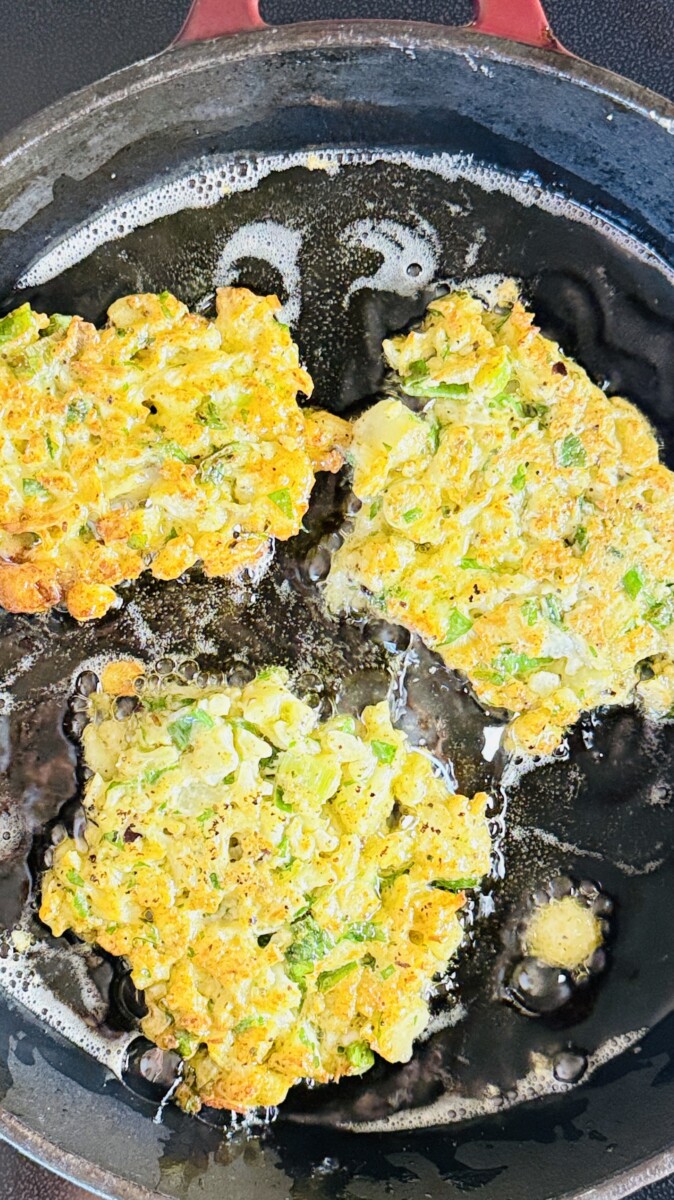
Fry each fritter for 3–4 minutes per side, or until golden and crispy. Don’t overcrowd the pan—work in batches for the best results. Transfer to a paper towel-lined plate to drain.
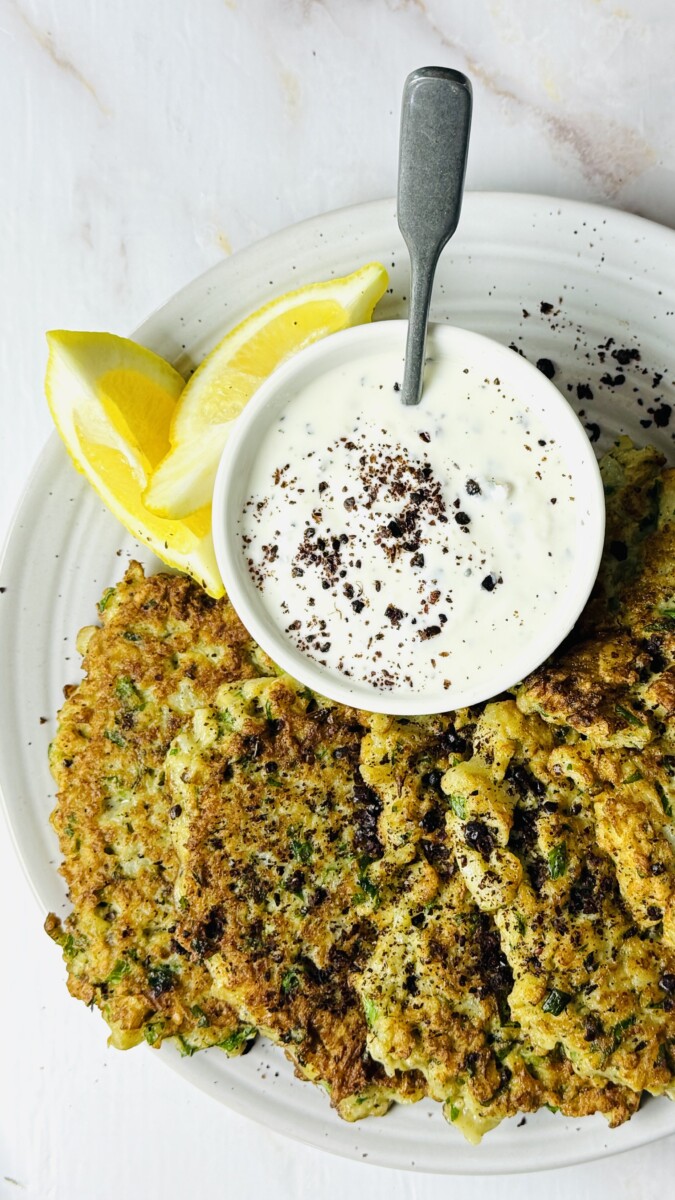
Serve and Enjoy
Crispy on the outside, tender on the inside—these Mediterranean cauliflower fritters are packed with flavor from za’atar, sumac, and fresh herbs. A comforting, nostalgic dish perfect for any time of day.
Type of Cuisine:
Mediterranean
Prep Time: 25 minutes.
Cook Time: 20–25 minutes
How Many Servings?
6–8 fritters
Ingredients:
| 2 lbs cauliflower florets ( 1 large head) | |
| 5 large eggs | |
| 3 green onions, finely chopped (use both green and white parts) | |
| 1/4 cup fresh parsley, finely chopped | |
| 2 tablespoons za’atar | |
| 1 tablespoon sumac | |
| salt and pepper to taste | |
| 3 garlic clove, minced | |
| 3/4 cup flour (start with this, adjust as needed for consistency) | |
| 1 teaspoon baking powder | |
| 1 cup olive oil for frying |
| Lemon juice after and sprinkle of sumac |
Preparation
After cutting the cauliflower into small florets, bring a large pot of salted water to a boil. Drop the florets in and blanch them for about 2–3 minutes—just until they start to soften (you don’t want them mushy). Right after, transfer them to a bowl of ice water to stop the cooking. Once cooled, drain well and pat dry with a clean towel. This step helps prevent soggy fritters and keeps the texture just right!
Use a sharp knife to chop them into small pieces. I like to leave a few slightly larger chunks for a bit of texture and crunch—it makes the fritters more interesting to bite into. You're aiming for a mix of finely chopped and small pieces, not a mash.
In a large bowl, combine the chopped cauliflower with the eggs, green onion, parsley, za’atar, sumac, garlic (if using), salt, and pepper. Give it a good mix until everything is well coated. Next, add the flour and baking powder. Stir until it forms a thick, scoopable batter. It should hold together nicely—if it feels too wet or loose, just sprinkle in a little more flour until the texture feels right.
Heat a generous layer of olive oil in a large skillet over medium heat. Once the oil is hot, scoop spoonfuls of the batter (I like using a large serving spoon) and gently drop them into the pan. Flatten each one slightly with the back of the spoon for even cooking. Fry each fritter for 3–4 minutes per side, or until golden and crispy. Don’t overcrowd the pan—work in batches for the best results. Transfer to a paper towel-lined plate to drain.
Serve the fritters warm with a generous squeeze of lemon juice. For extra flavor, add a dollop of tahini sauce or plain yogurt on the side.
Nutrition Information
The information shown is an estimate provided by an online nutrition calculator. It should should not be considered a substitute for a professional nutritionist's advice.
See our full nutrition disclosure here.
Subscribe to my newsletter for authentic Mediterranean recipes, essential cooking tips, and the latest food news, all delivered directly to your inbox for FREE. Let’s create memorable dishes together!

Tried this recipe? I’d love to hear what you think! Leave a comment below and let me know how it turned out—or how you made it your own.